
DARC Strap Pt 1
Drag Your Buddy Without Choking Them
If you have ever practiced buddy drags using the drag handle of your plate carrier (PC), or had to do it in real-life, you know how fraught with downsides this is. Whether it is in the sheer difficulty of moving someone like this, or the fact there is basically no way to do so without choking the person being dragged, this solution sucks only moderately less than the option of leaving your buddy to bleed out in the open.
Enter Rich Mason from DARC (Direct Action Resource Center). Rich is a former SF Coolguy who runs what is arguably one of the best schools out there. Their most-known class is the Law Enforcement Counter Terrorism Course (LECTC):
However, they offer a multitude of other classes, including the Tactical Urban Sustainment Course (TUSC), which is the only course of its kind I am aware of, geared towards preppers:
One of the things I was introduced to at DARC was what people call the “DARC Strap” - a cheap, easy mod that can be done to any MOLLE PC, that alleviates the drag handle issue I talked about above. To make a DARC Strap you will need:
7 to 8 feet of 1-inch tubular nylon
Duct tape
A climbing-rated carabiner
Approximately 6-inches of 1-inch hose
Paracord
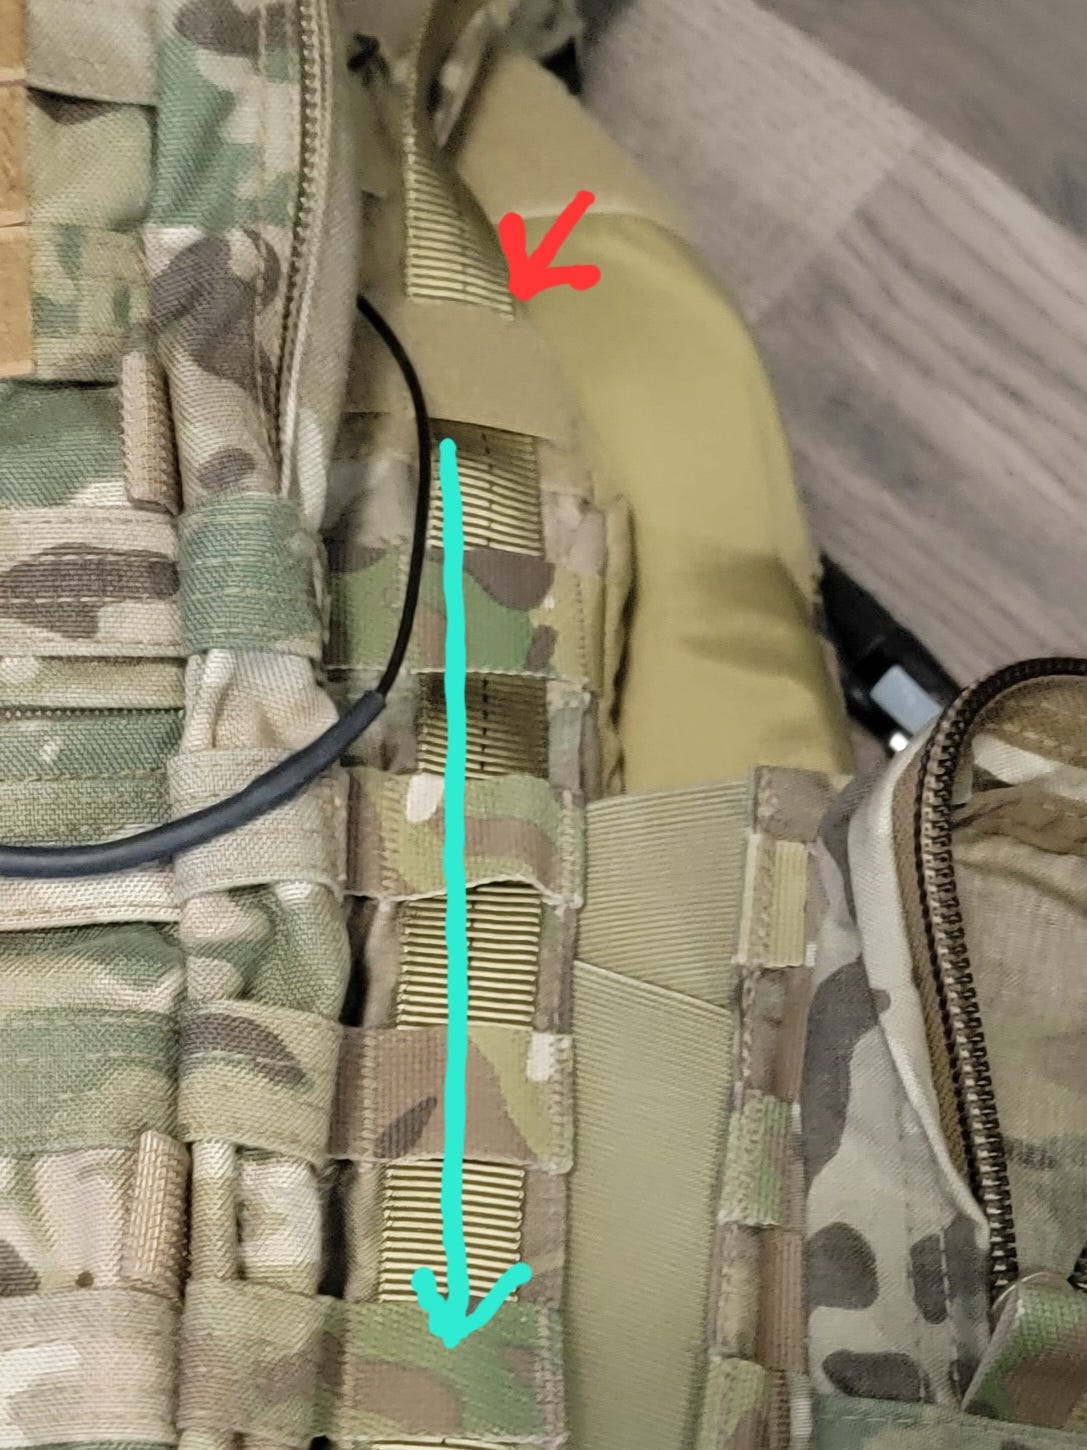
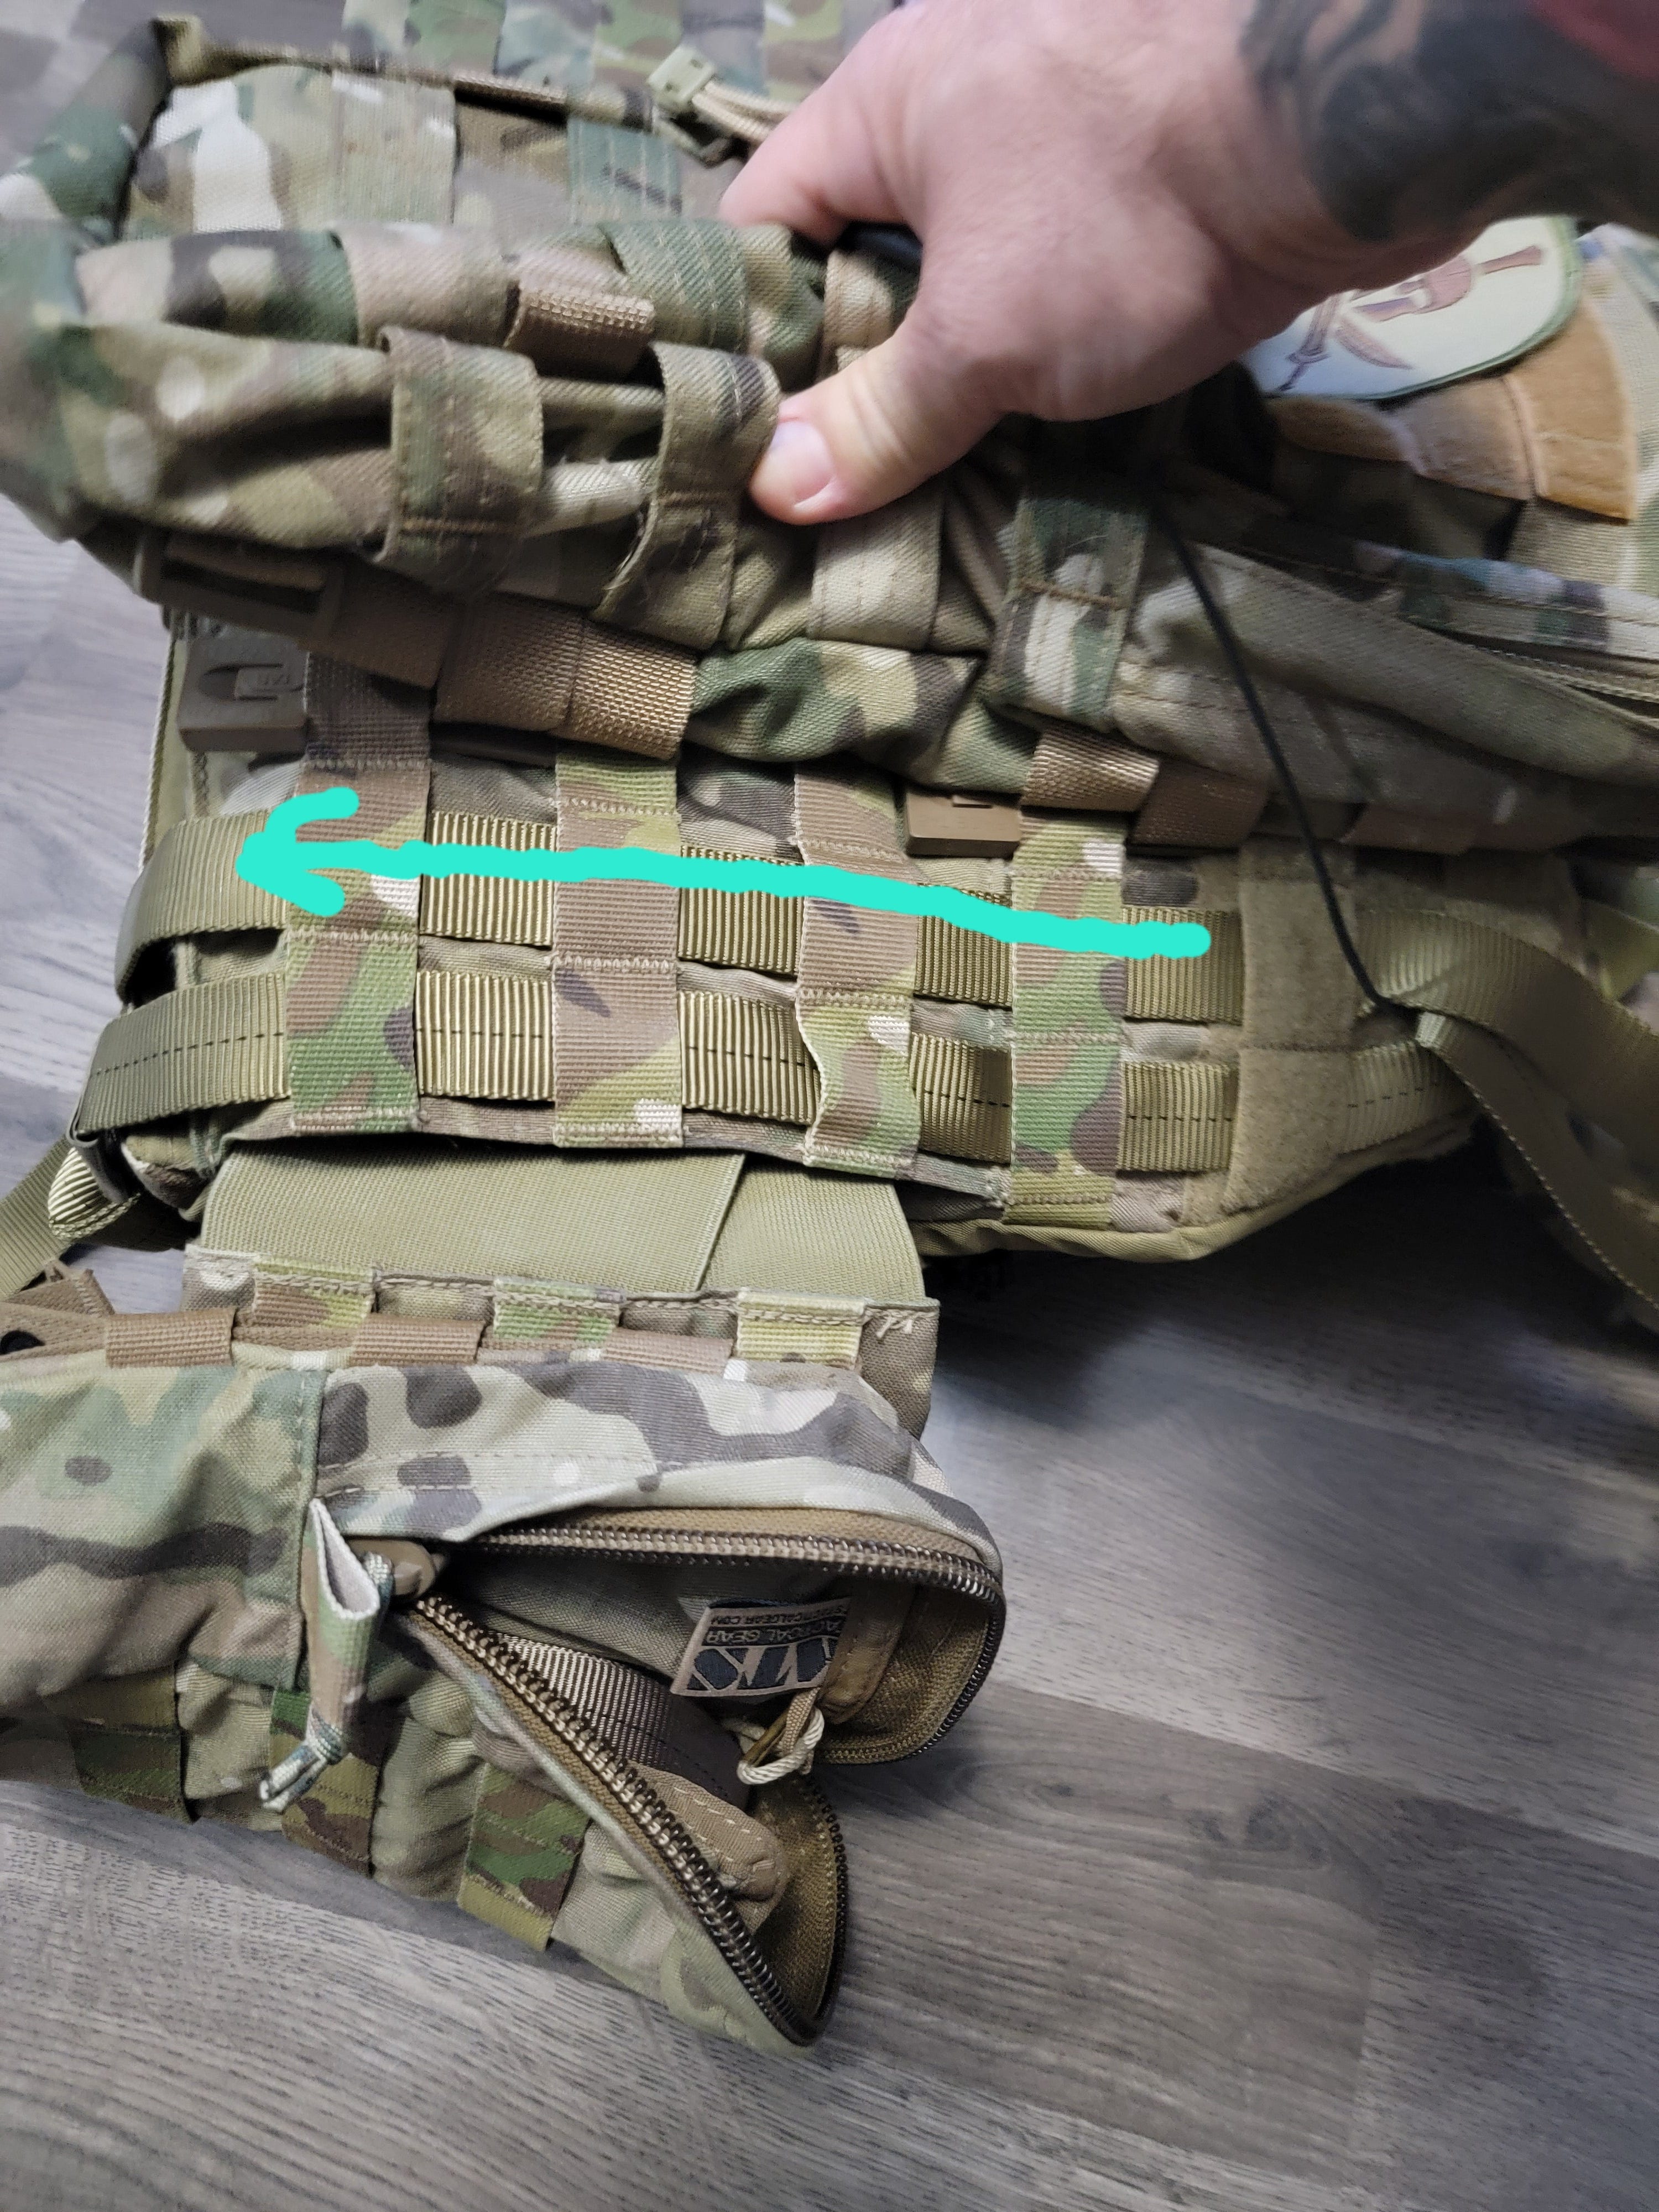
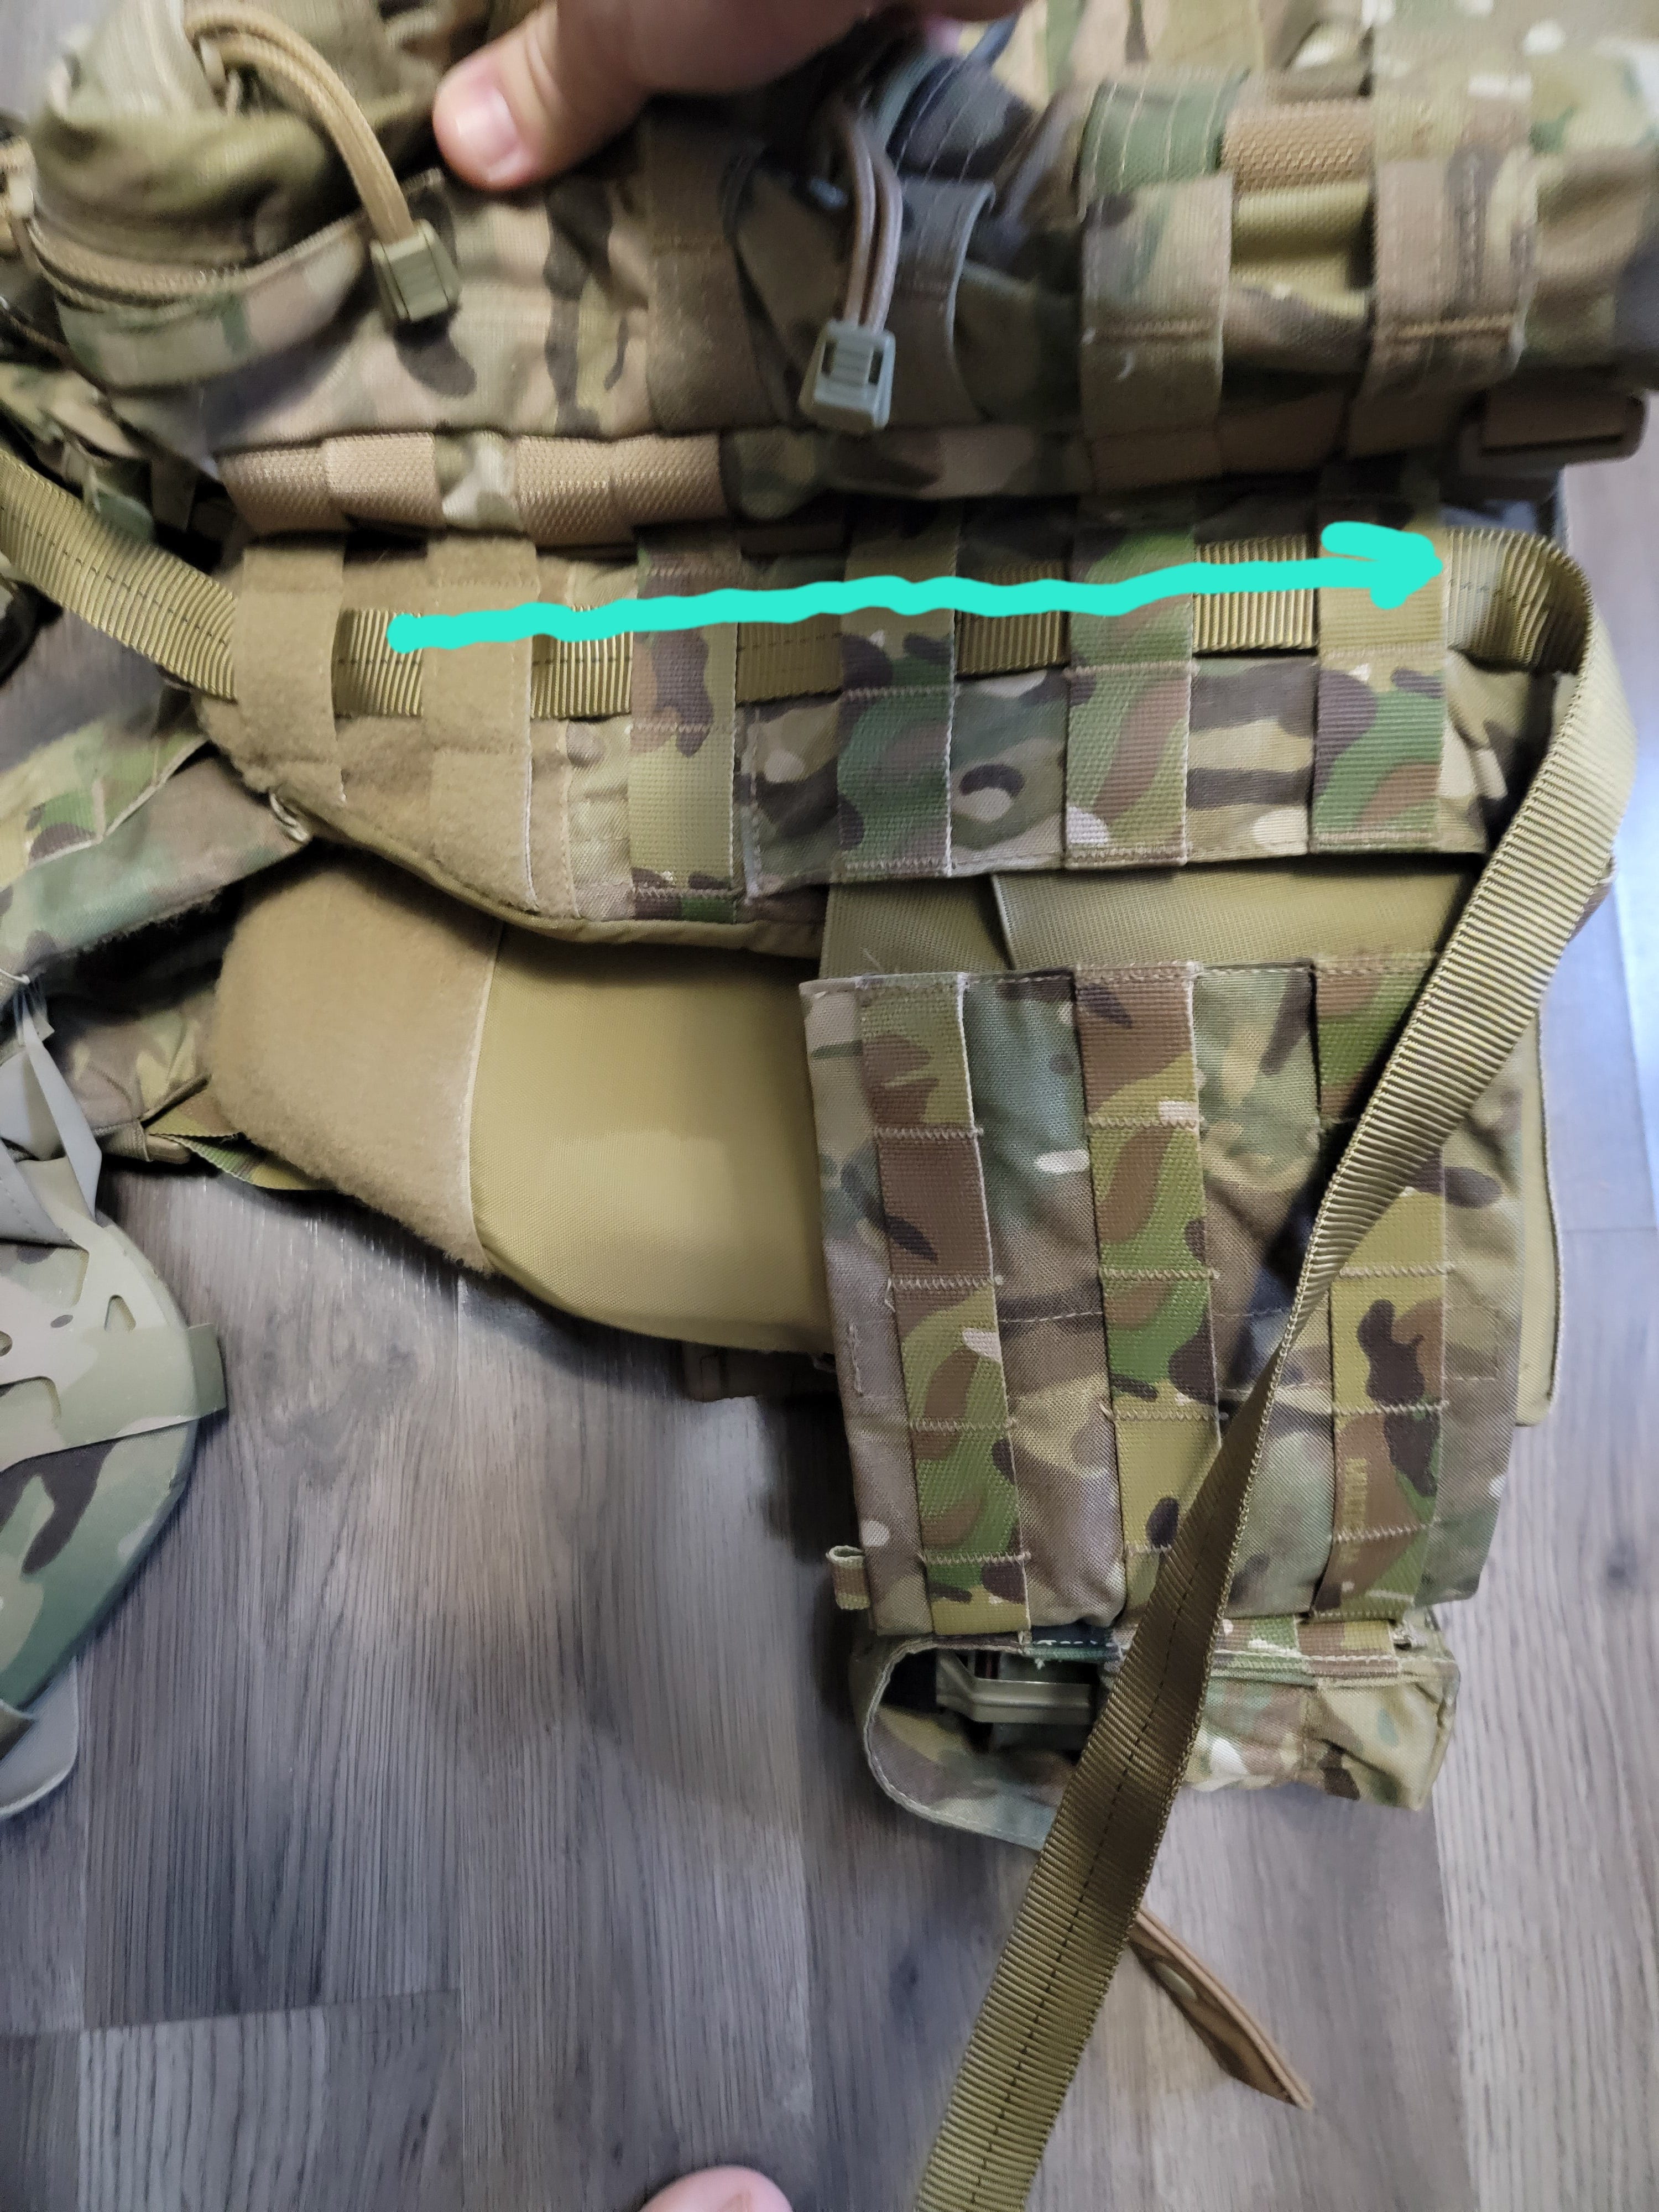
I apologize for my crappy photography skills in the following pictures. To set up the DARC Strap, you will need the outer two columns of MOLLE on each side of the rear plate pocket available.
Start out by running the tubular nylon under the outermost MOLLE loops of the PC, from top to bottom.
Red arrow points to where the tubular nylon is fed in, blue arrow shows the path of the feed:
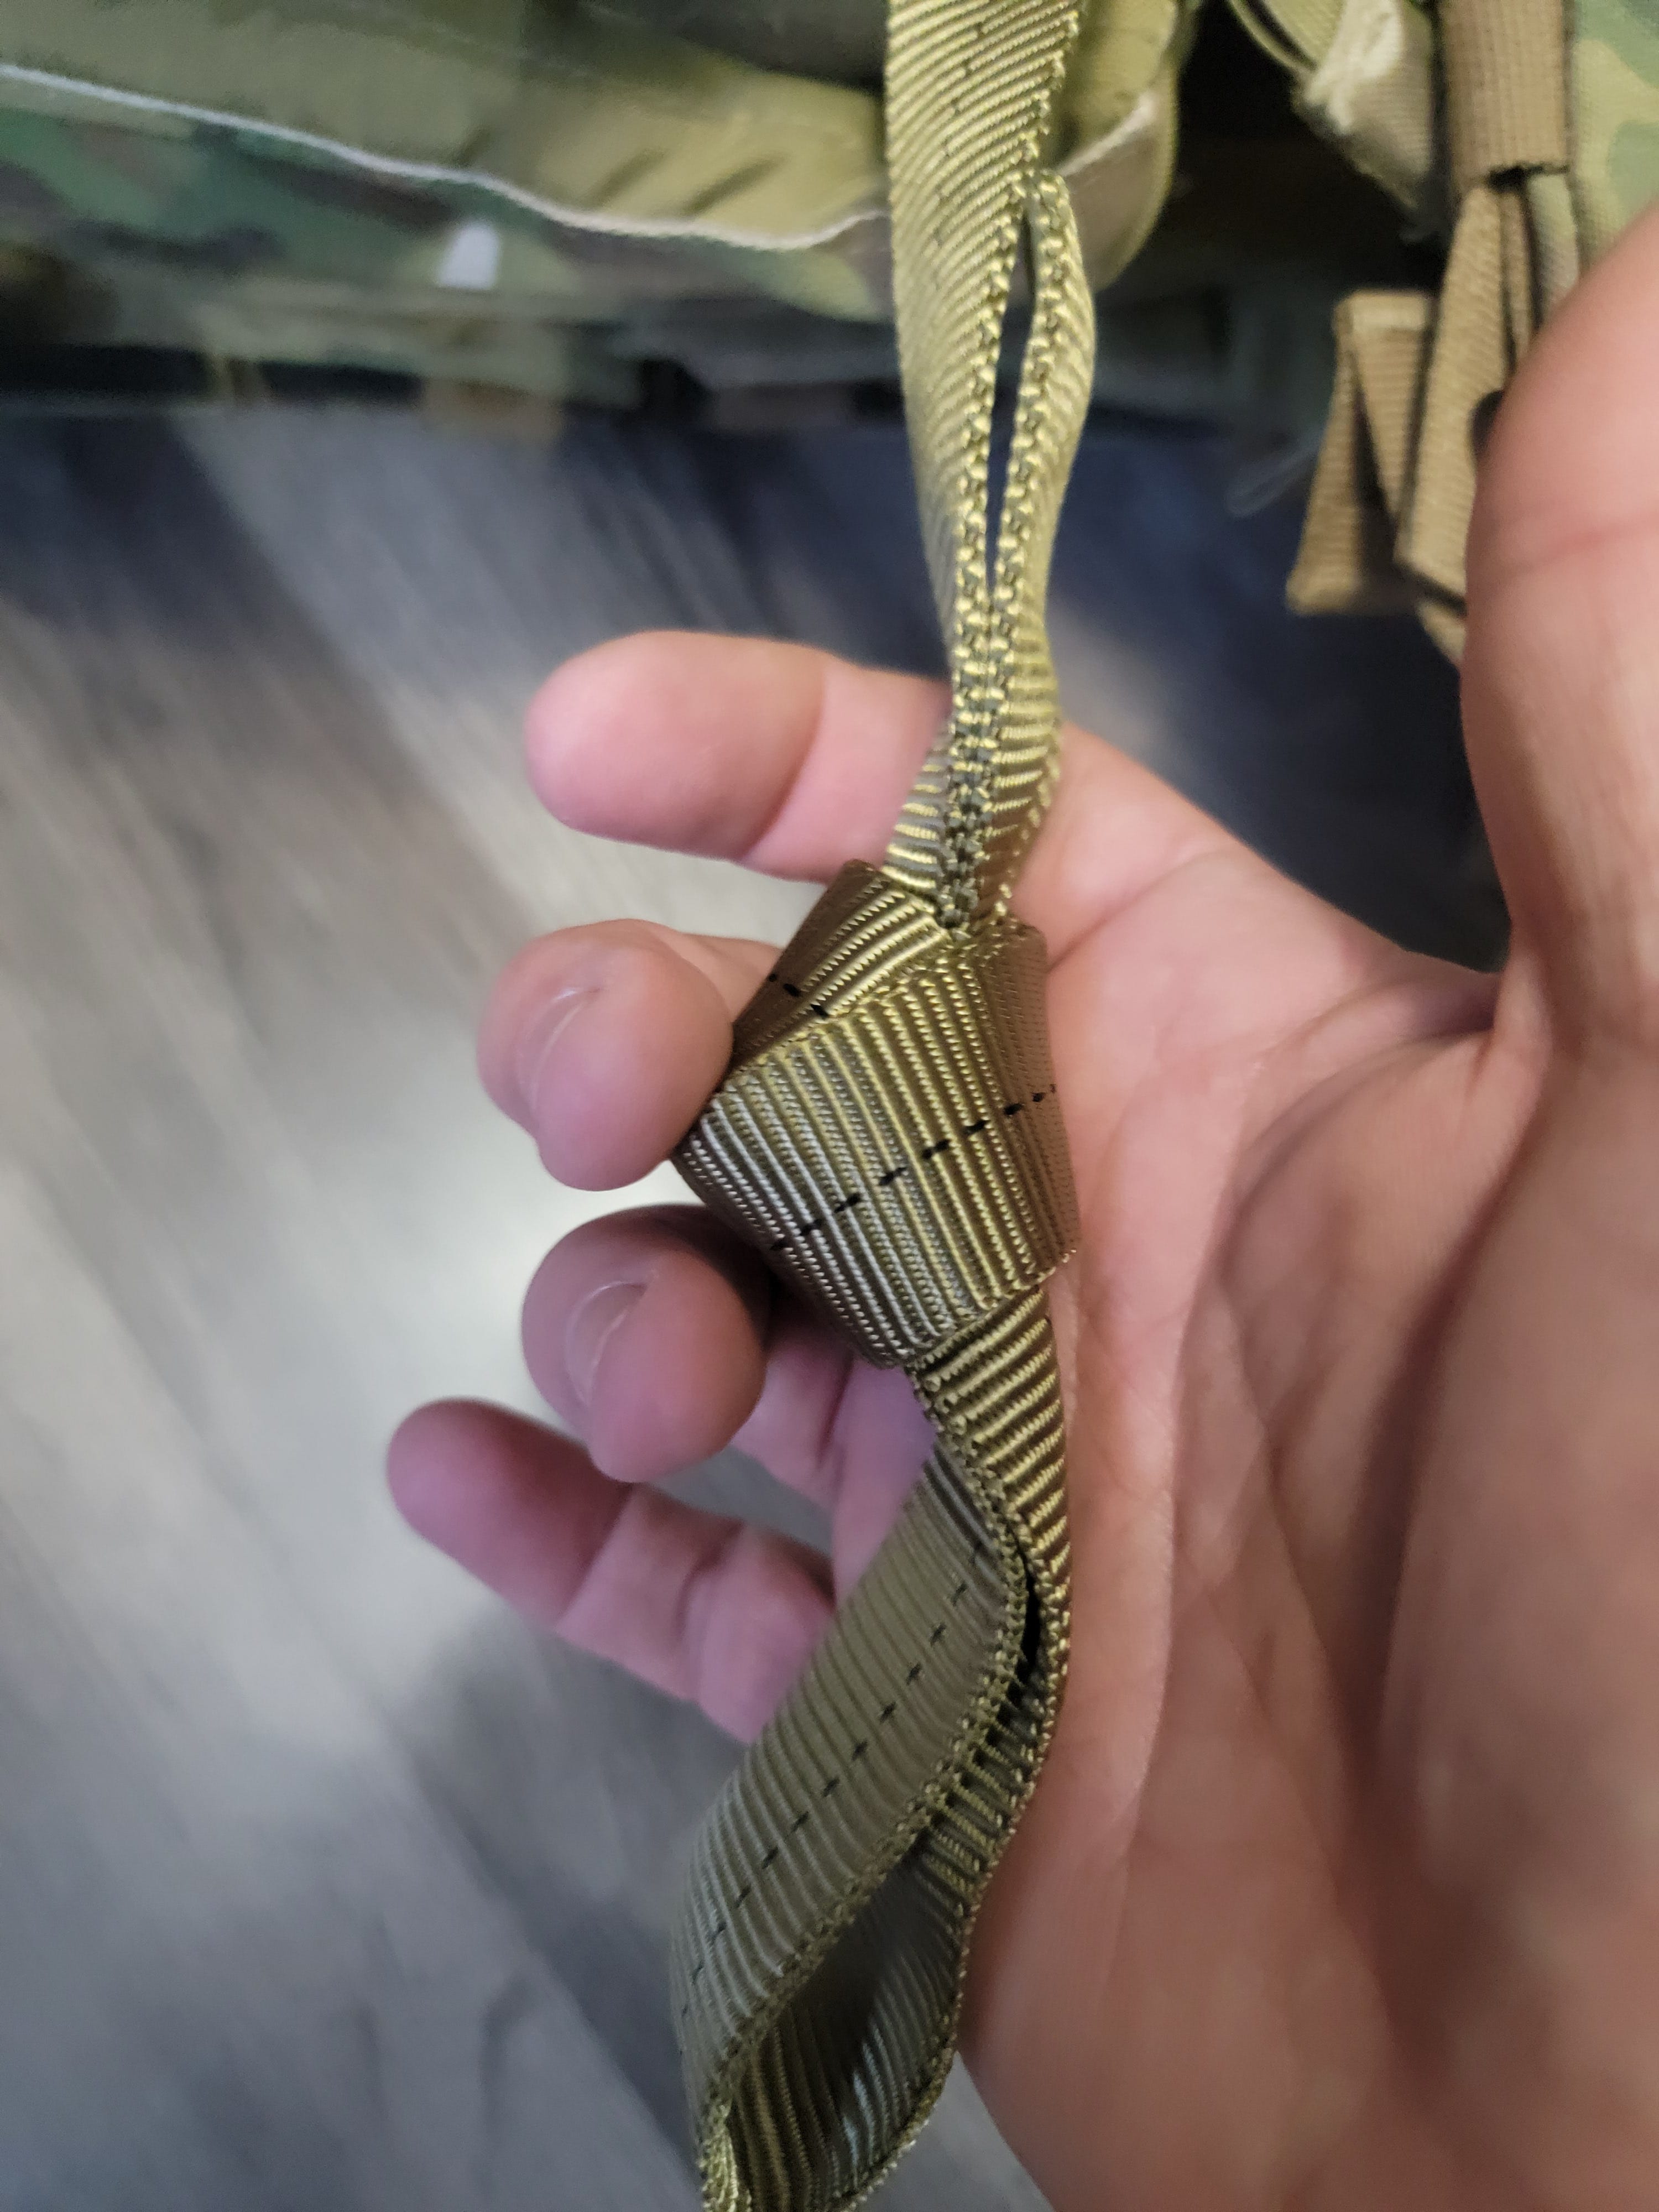
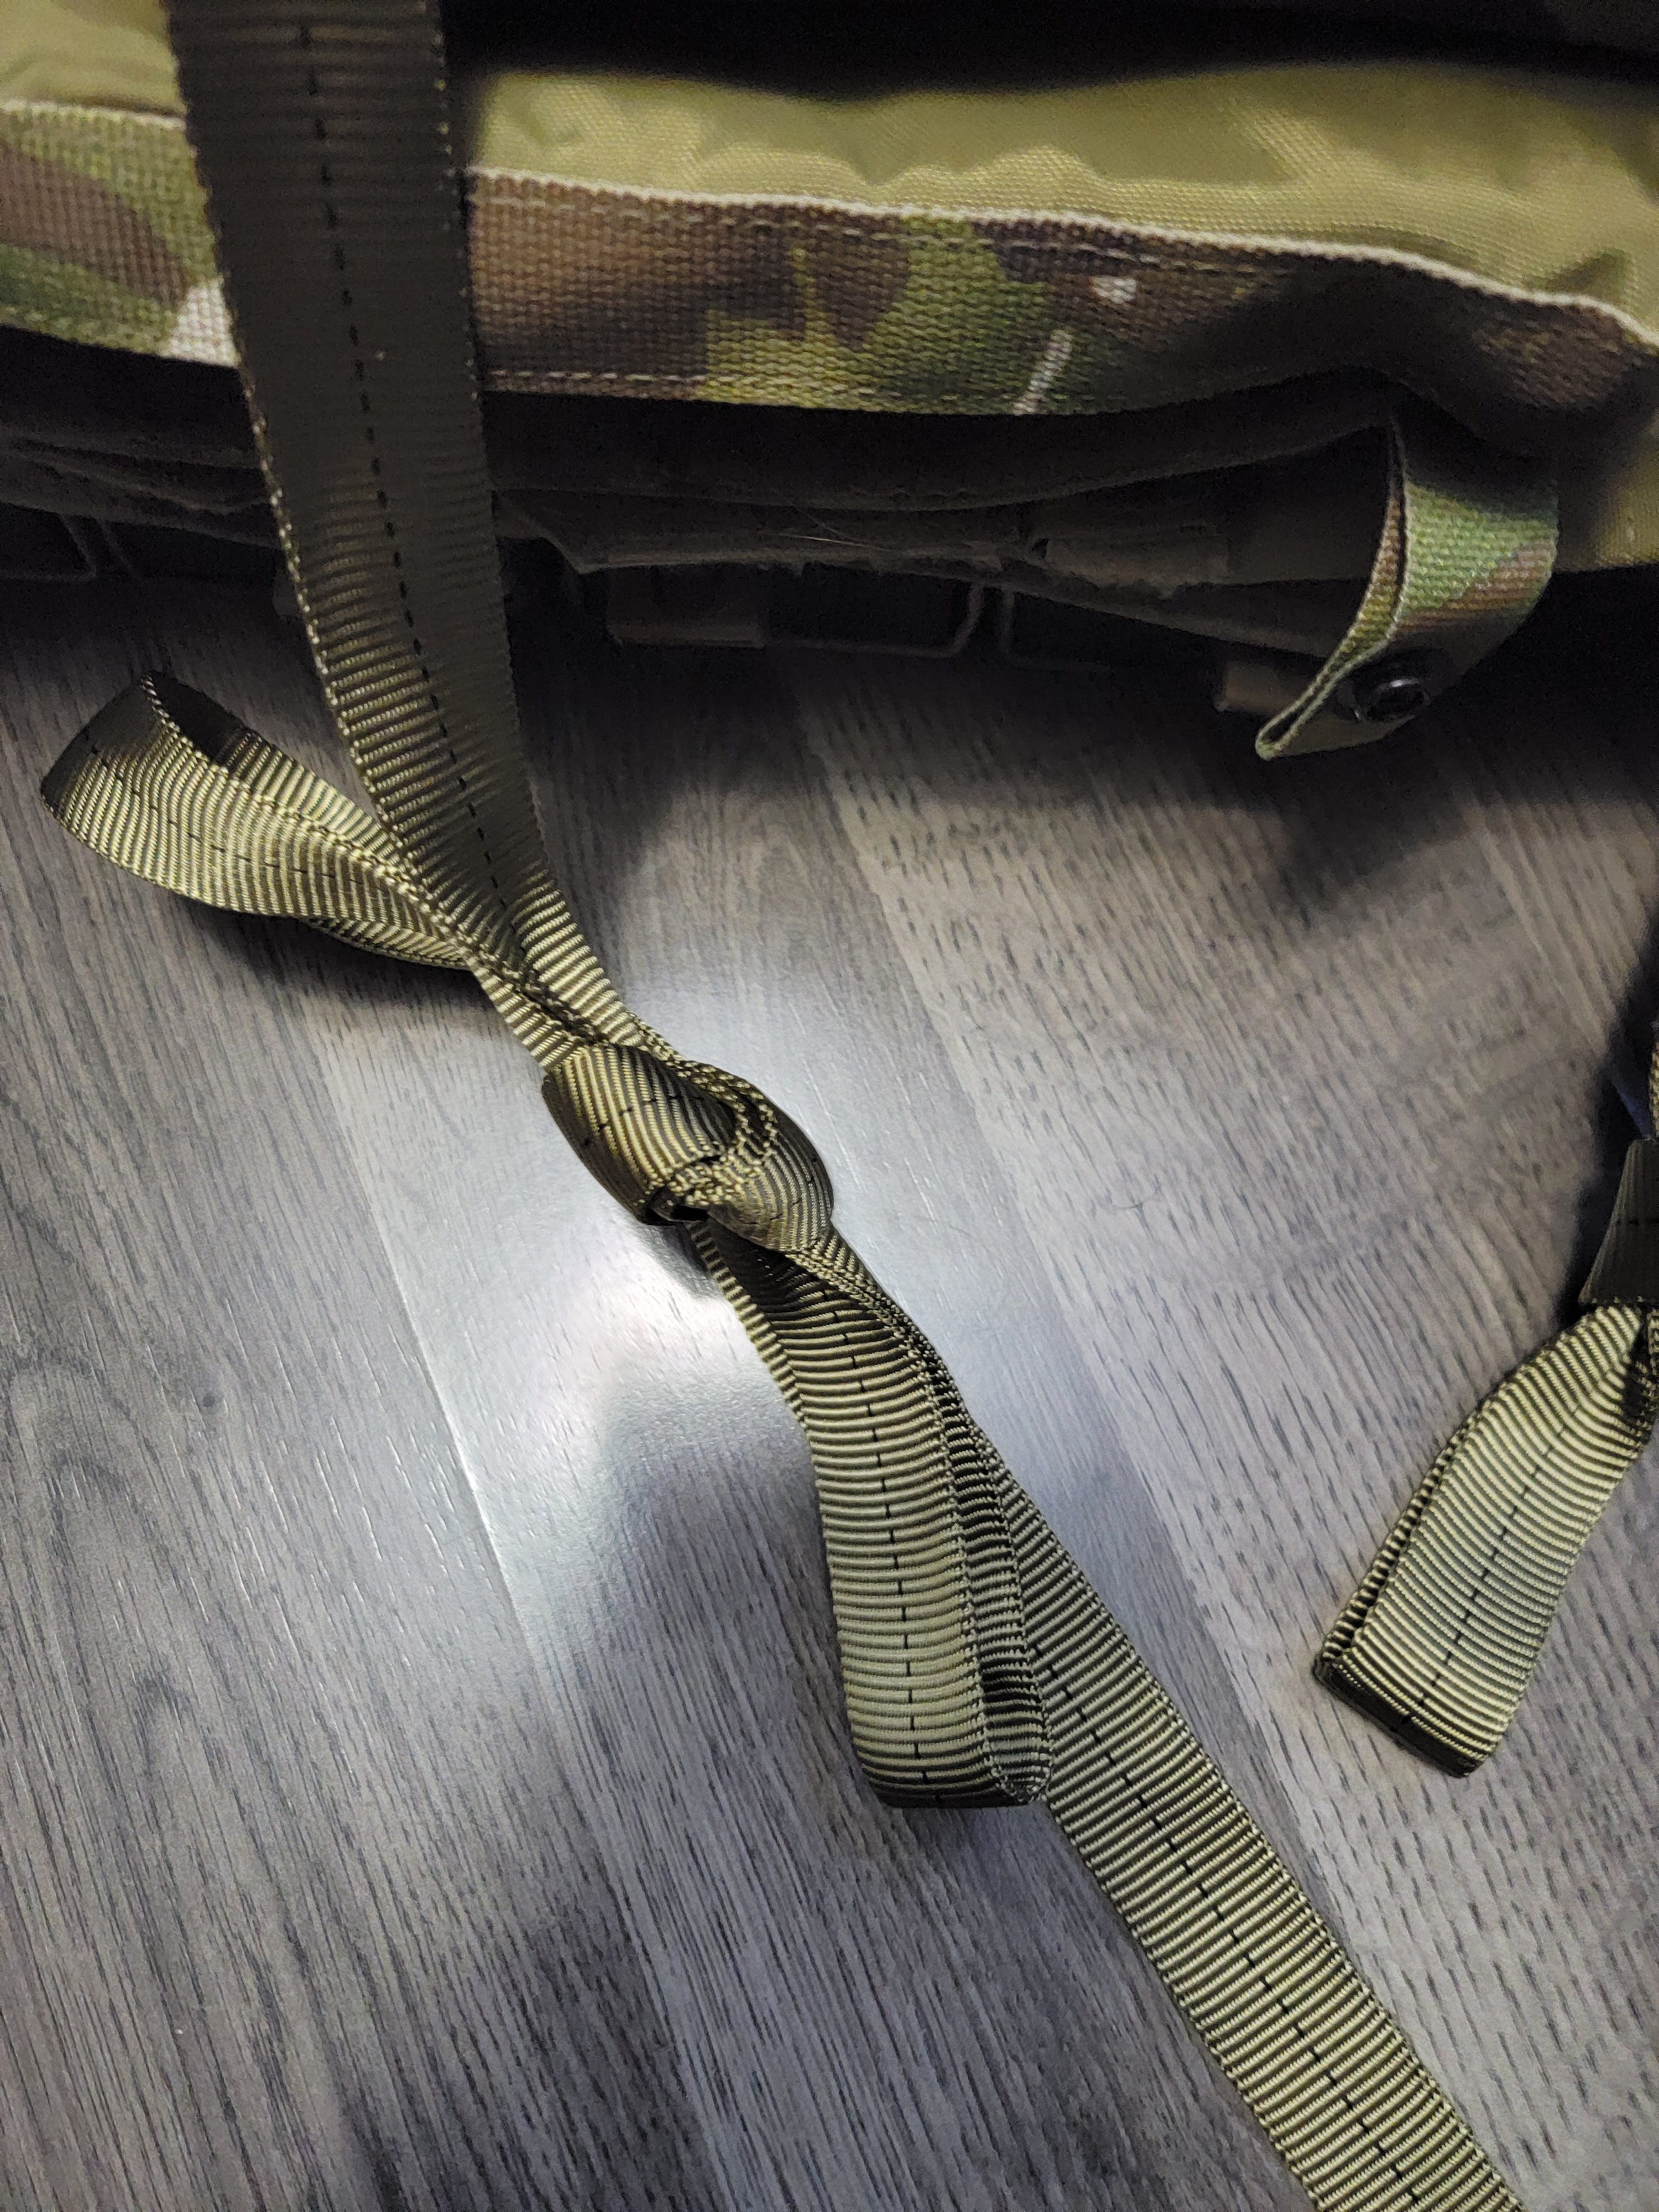
Feed enough of the tubular nylon through to form a loop of nylon at the bottom. Total length of this tail is about 6-inches, once the loop is formed.
You can tie the knot using a simple water knot, or an overhand loop.
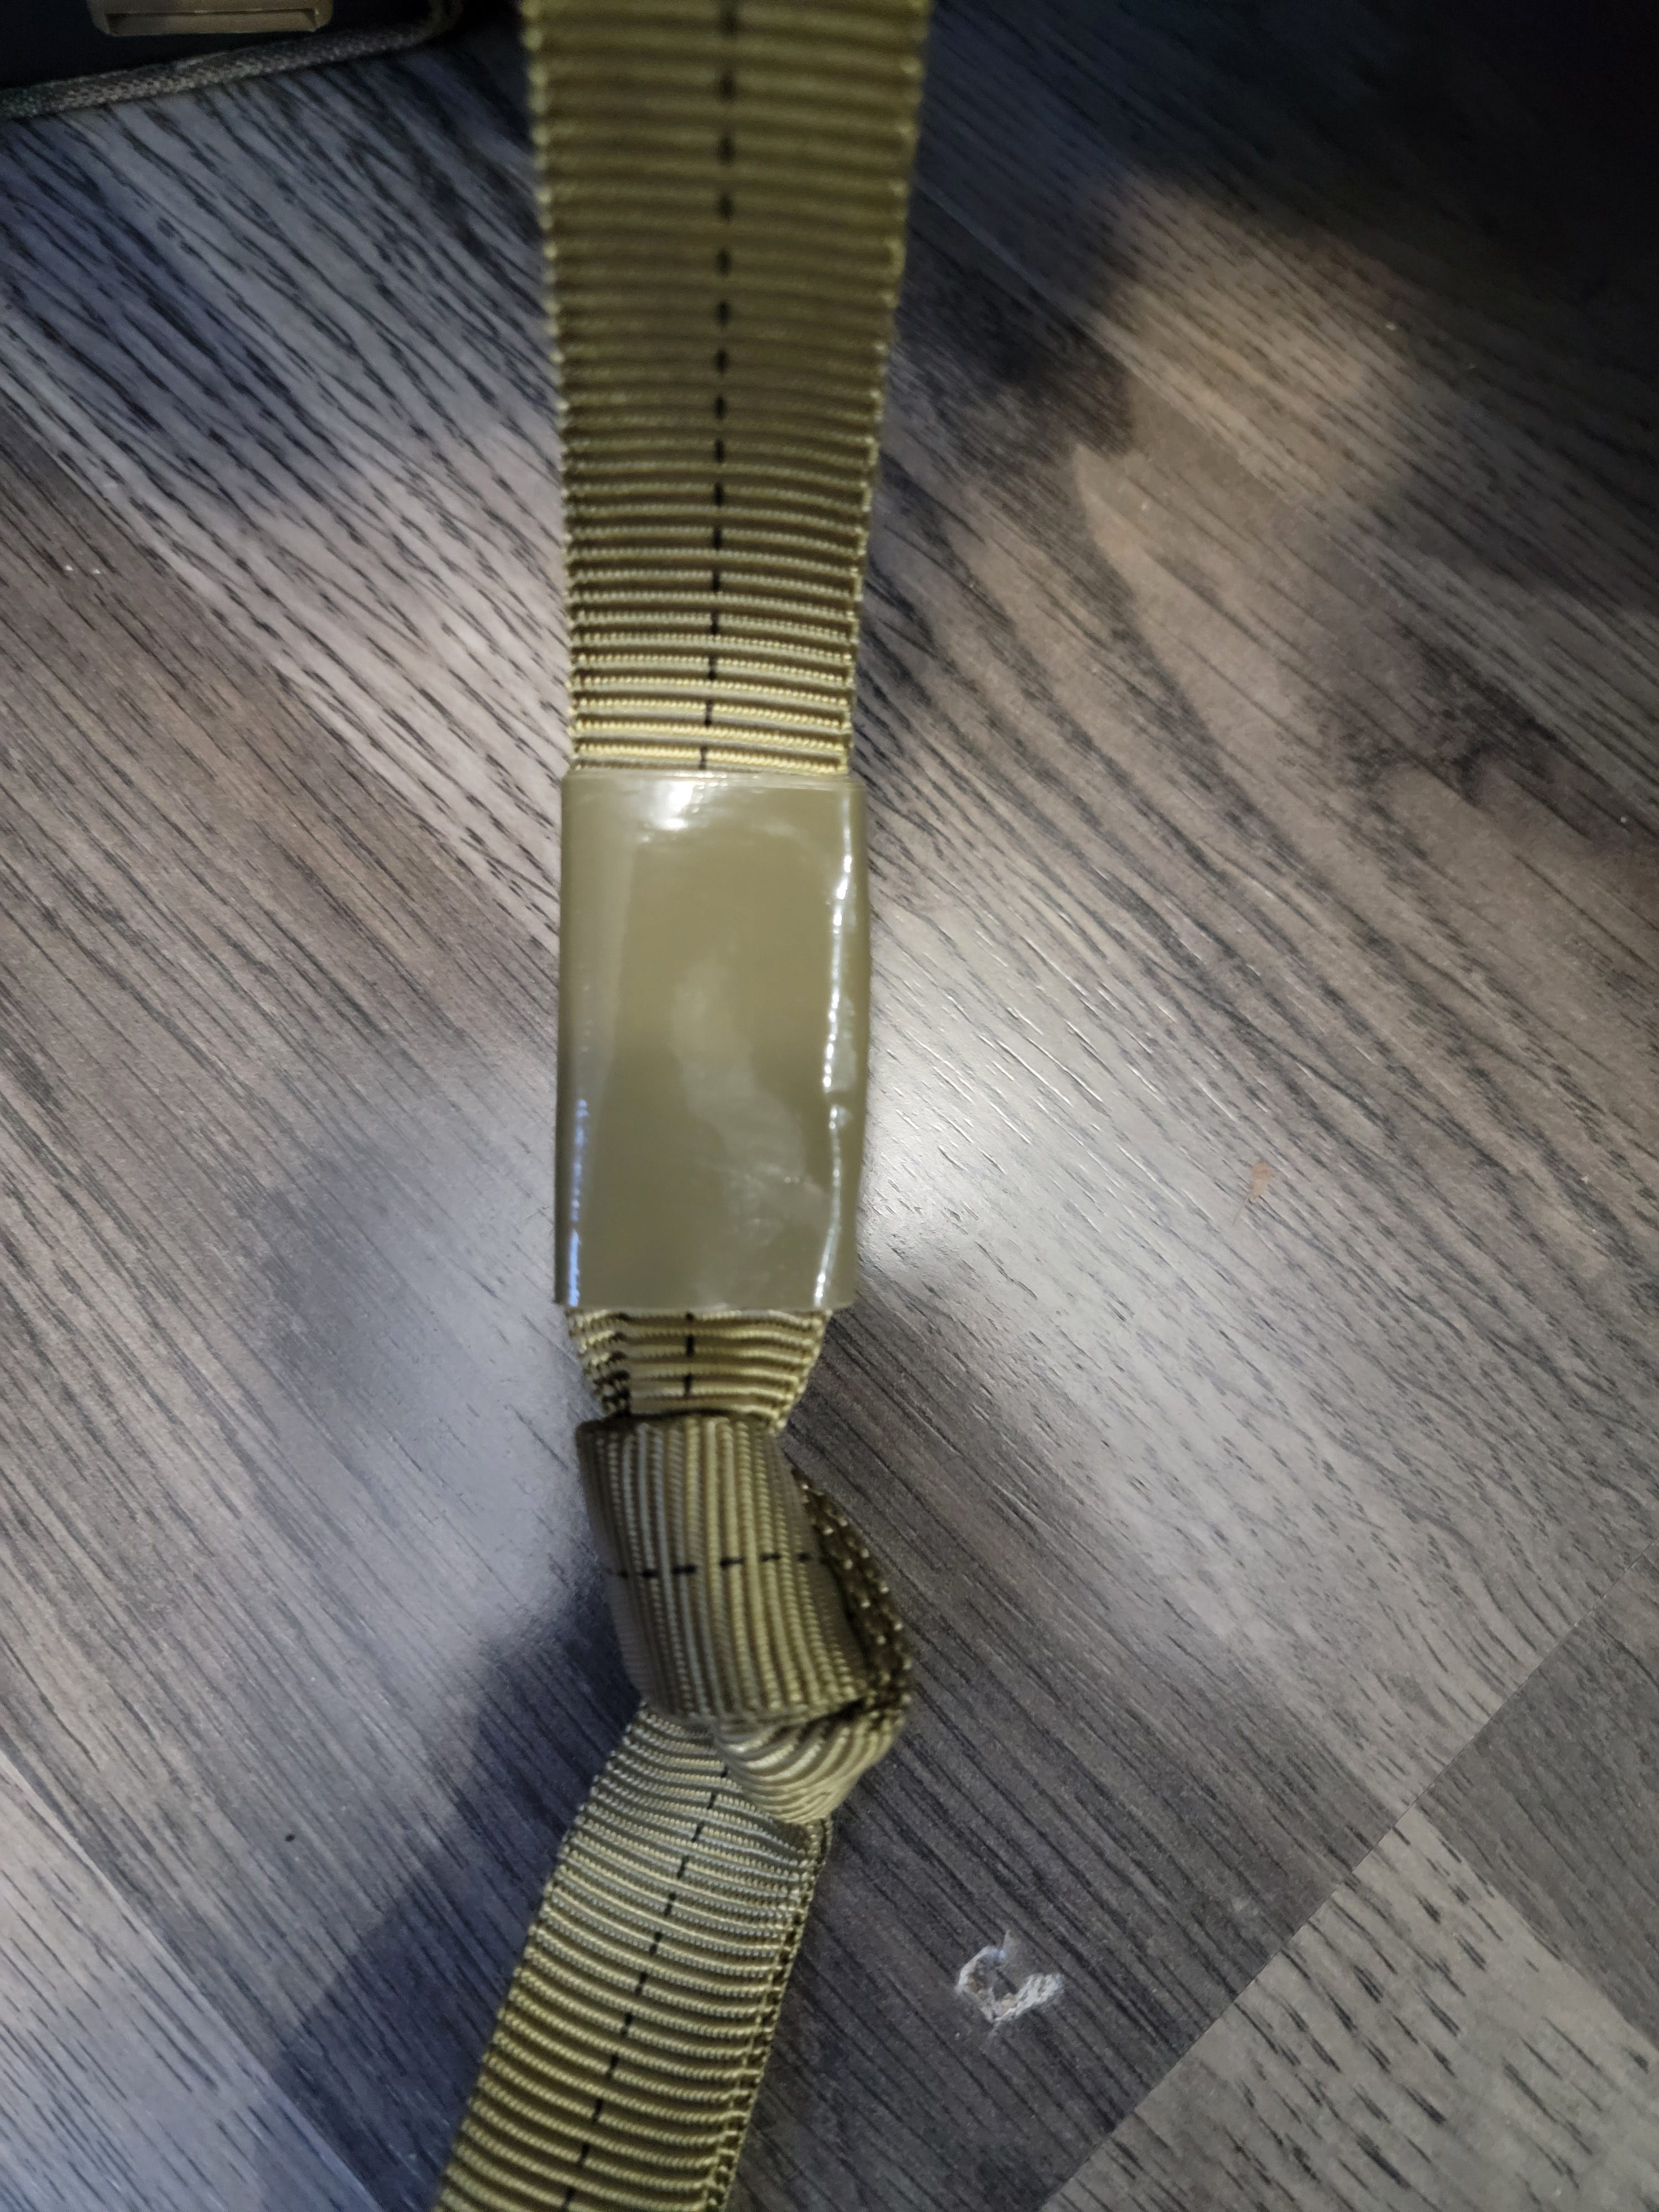
Using duct tape, secure the running end of the nylon:
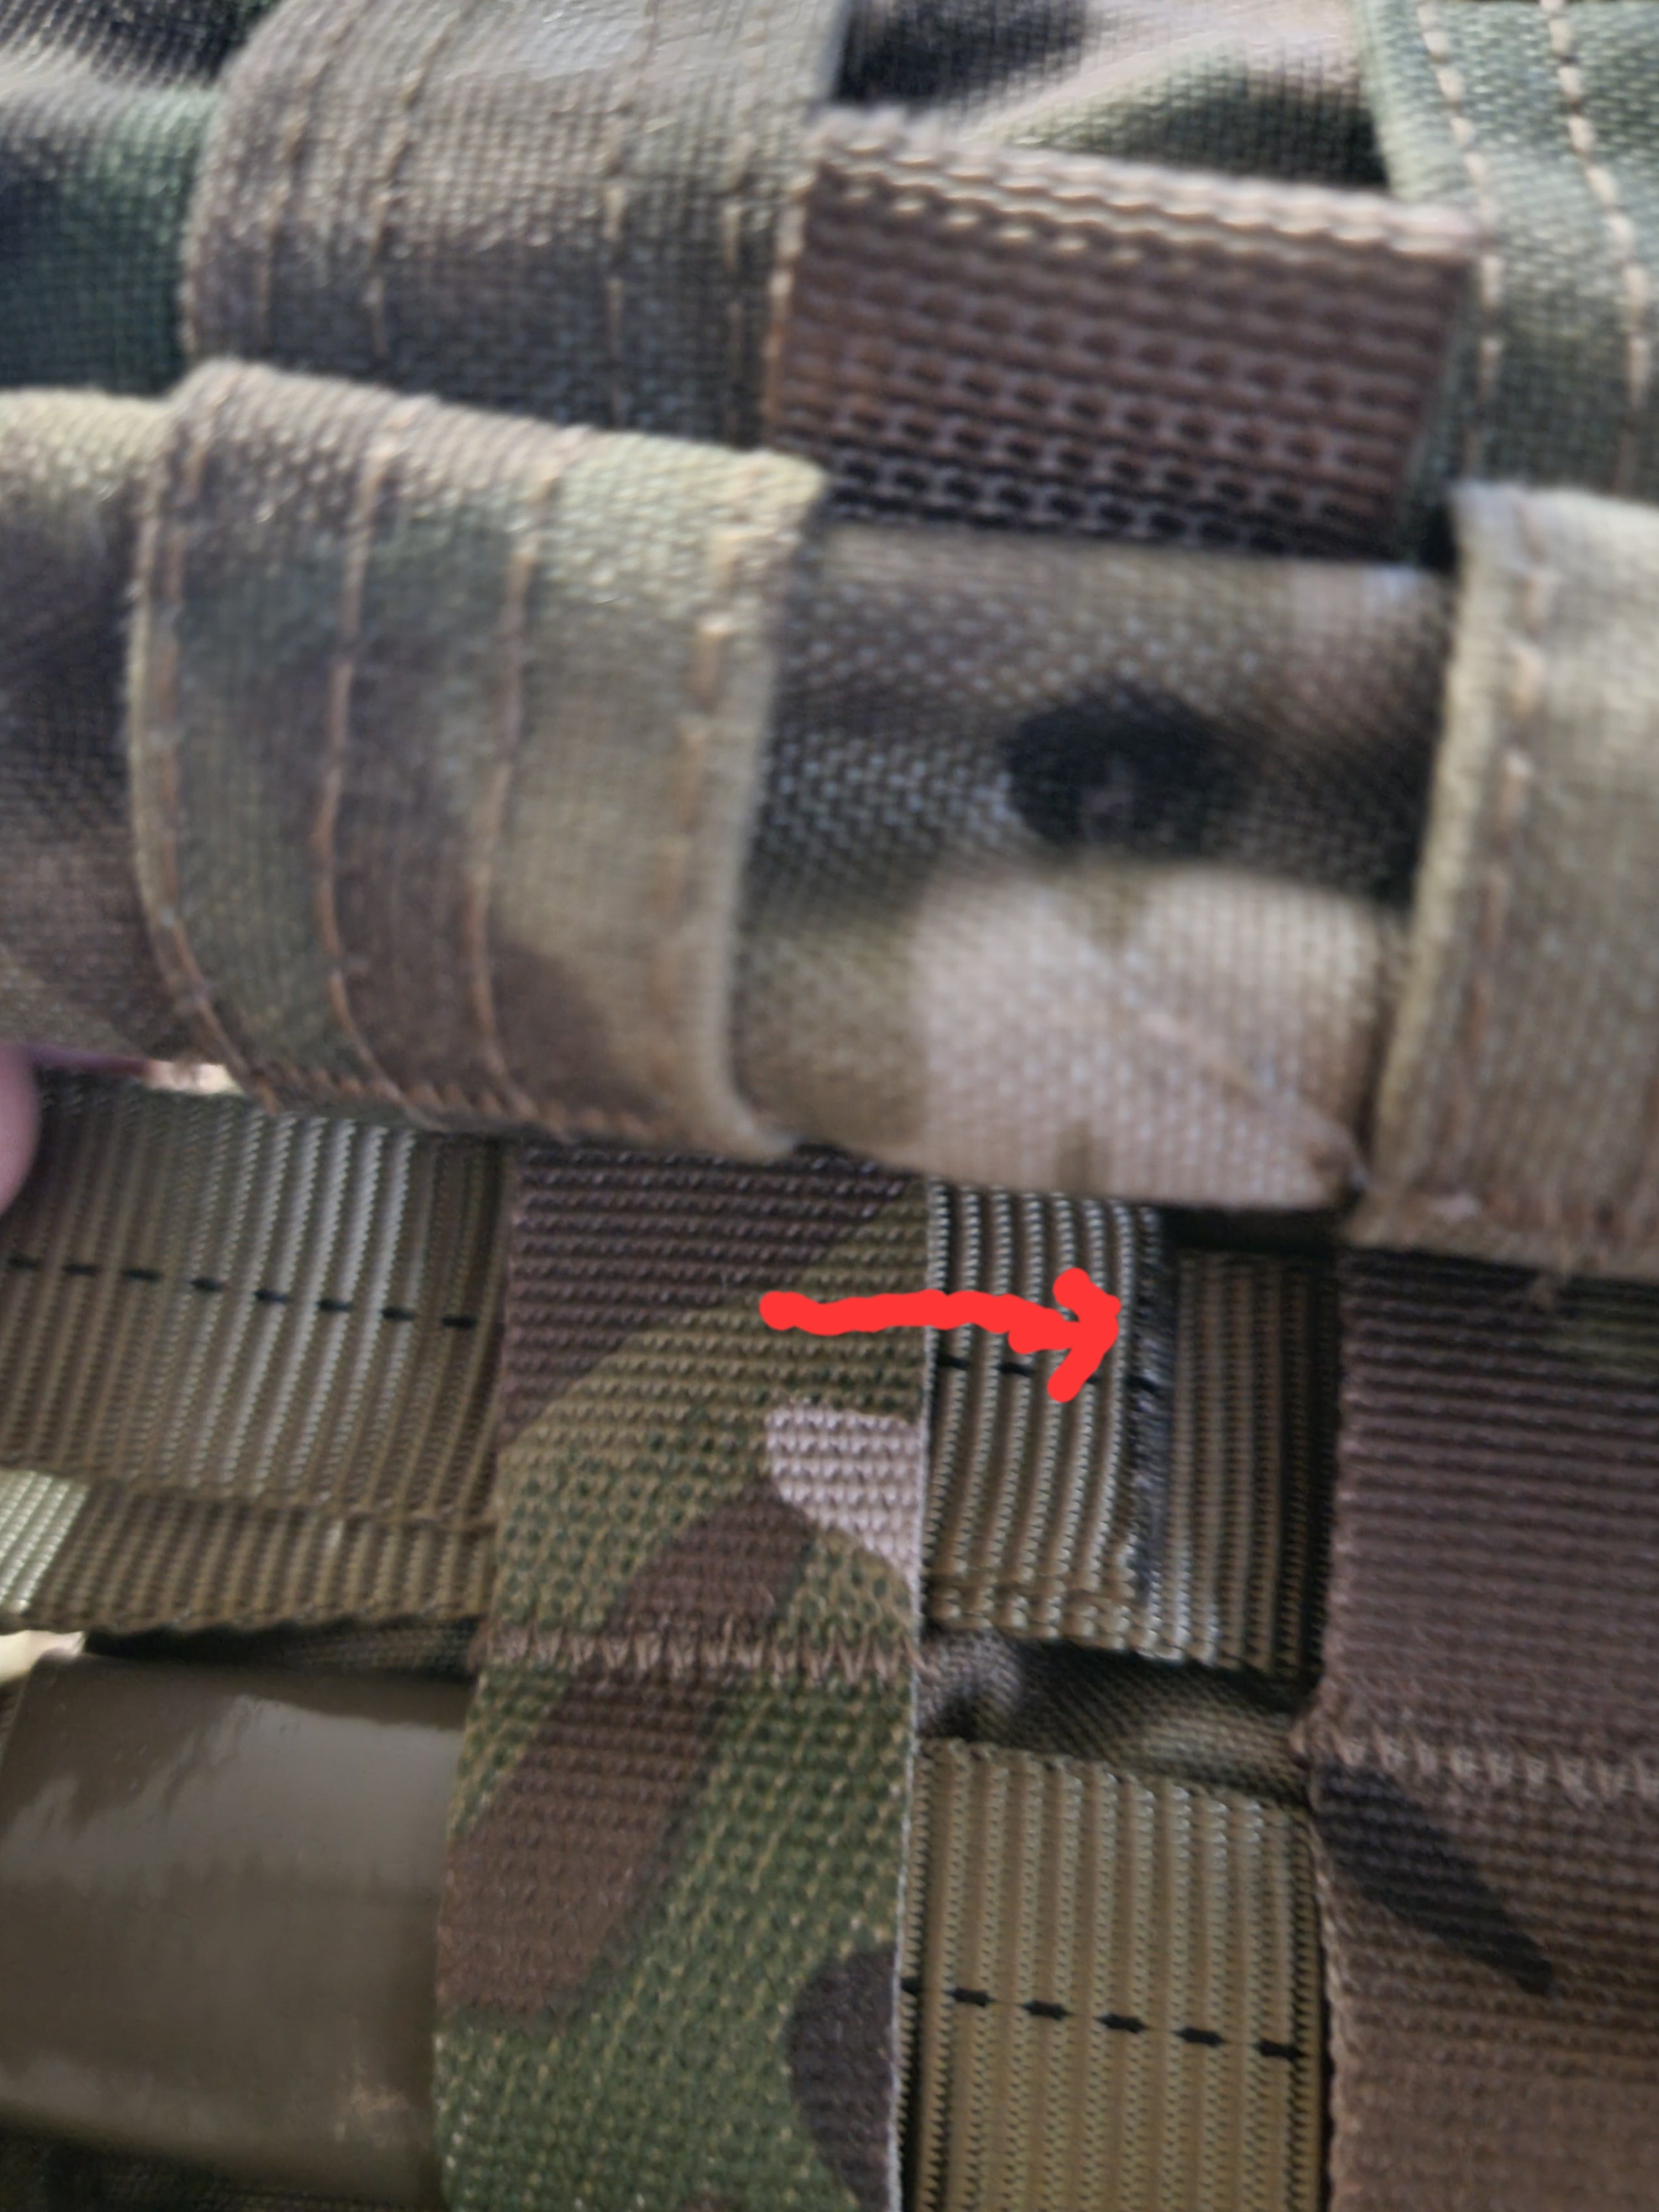
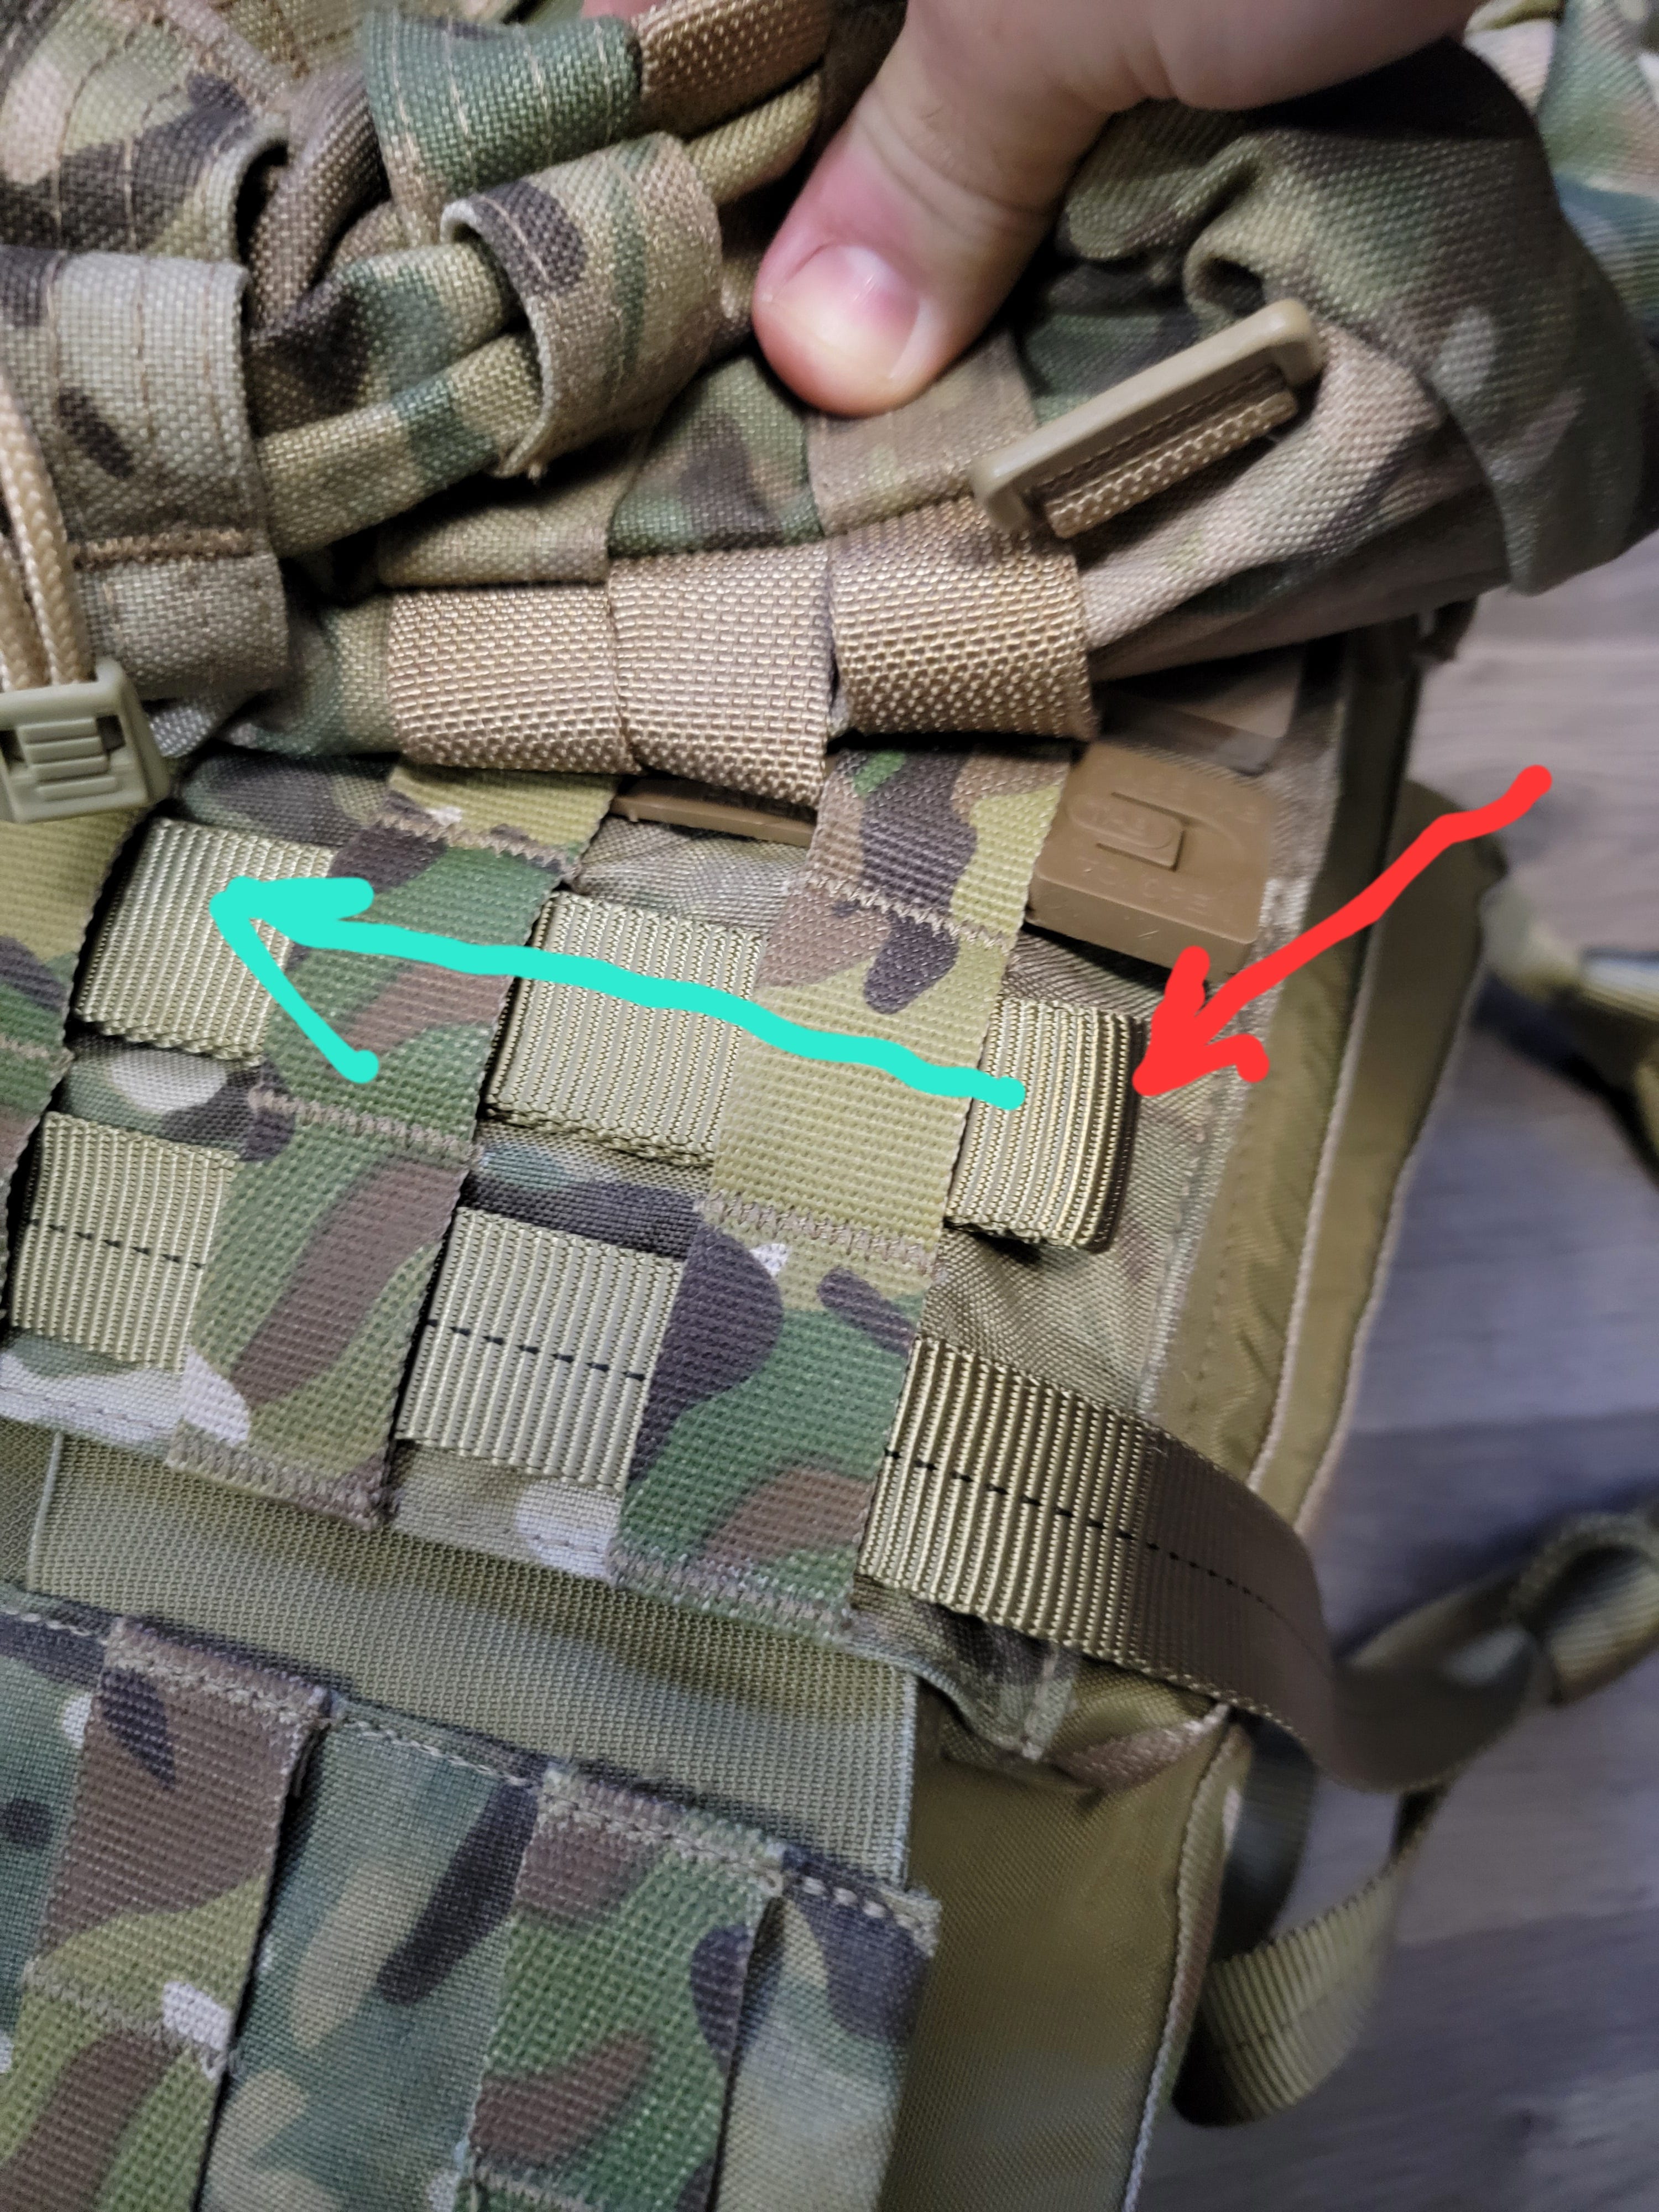
Now, taking the other end of the tubular nylon, run it through the 2nd from the outside column of MOLLE, also from top to bottom. Pull it taut, making sure the looped tail keeps its 6-inch length.
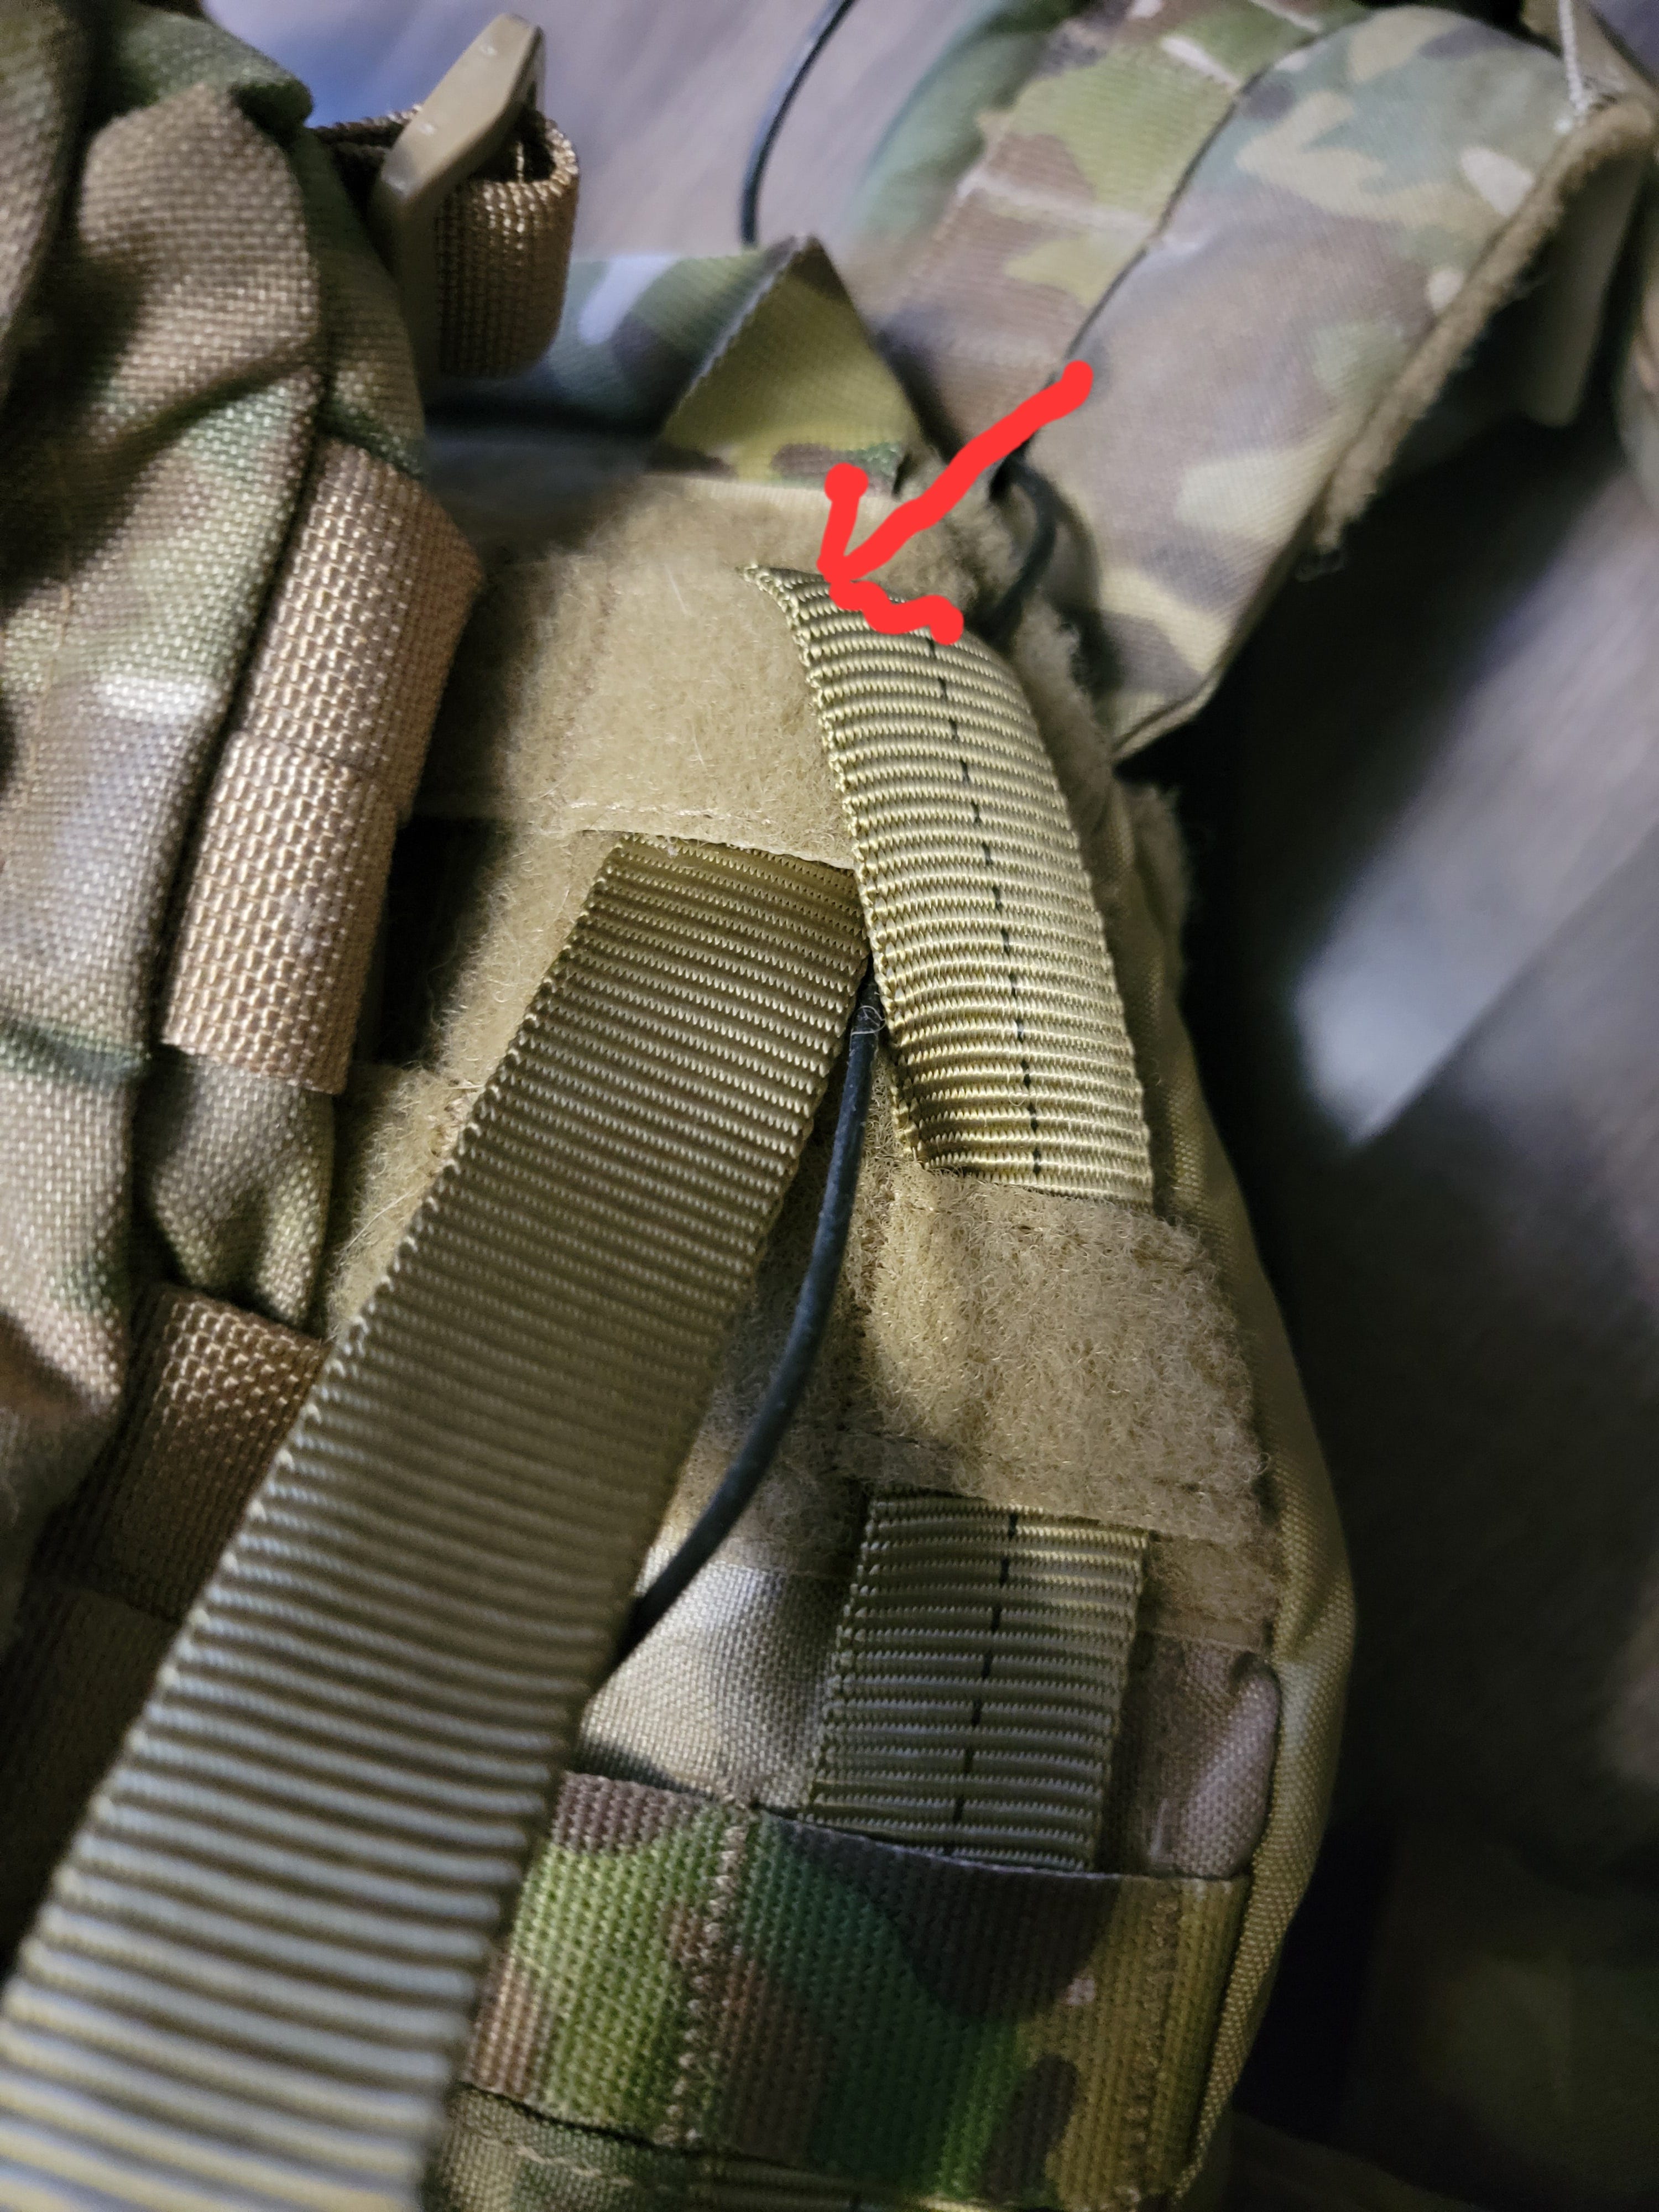
Red arrow shows the start of this next feed-through
Blue arrow shows the path of the feed-through completed.
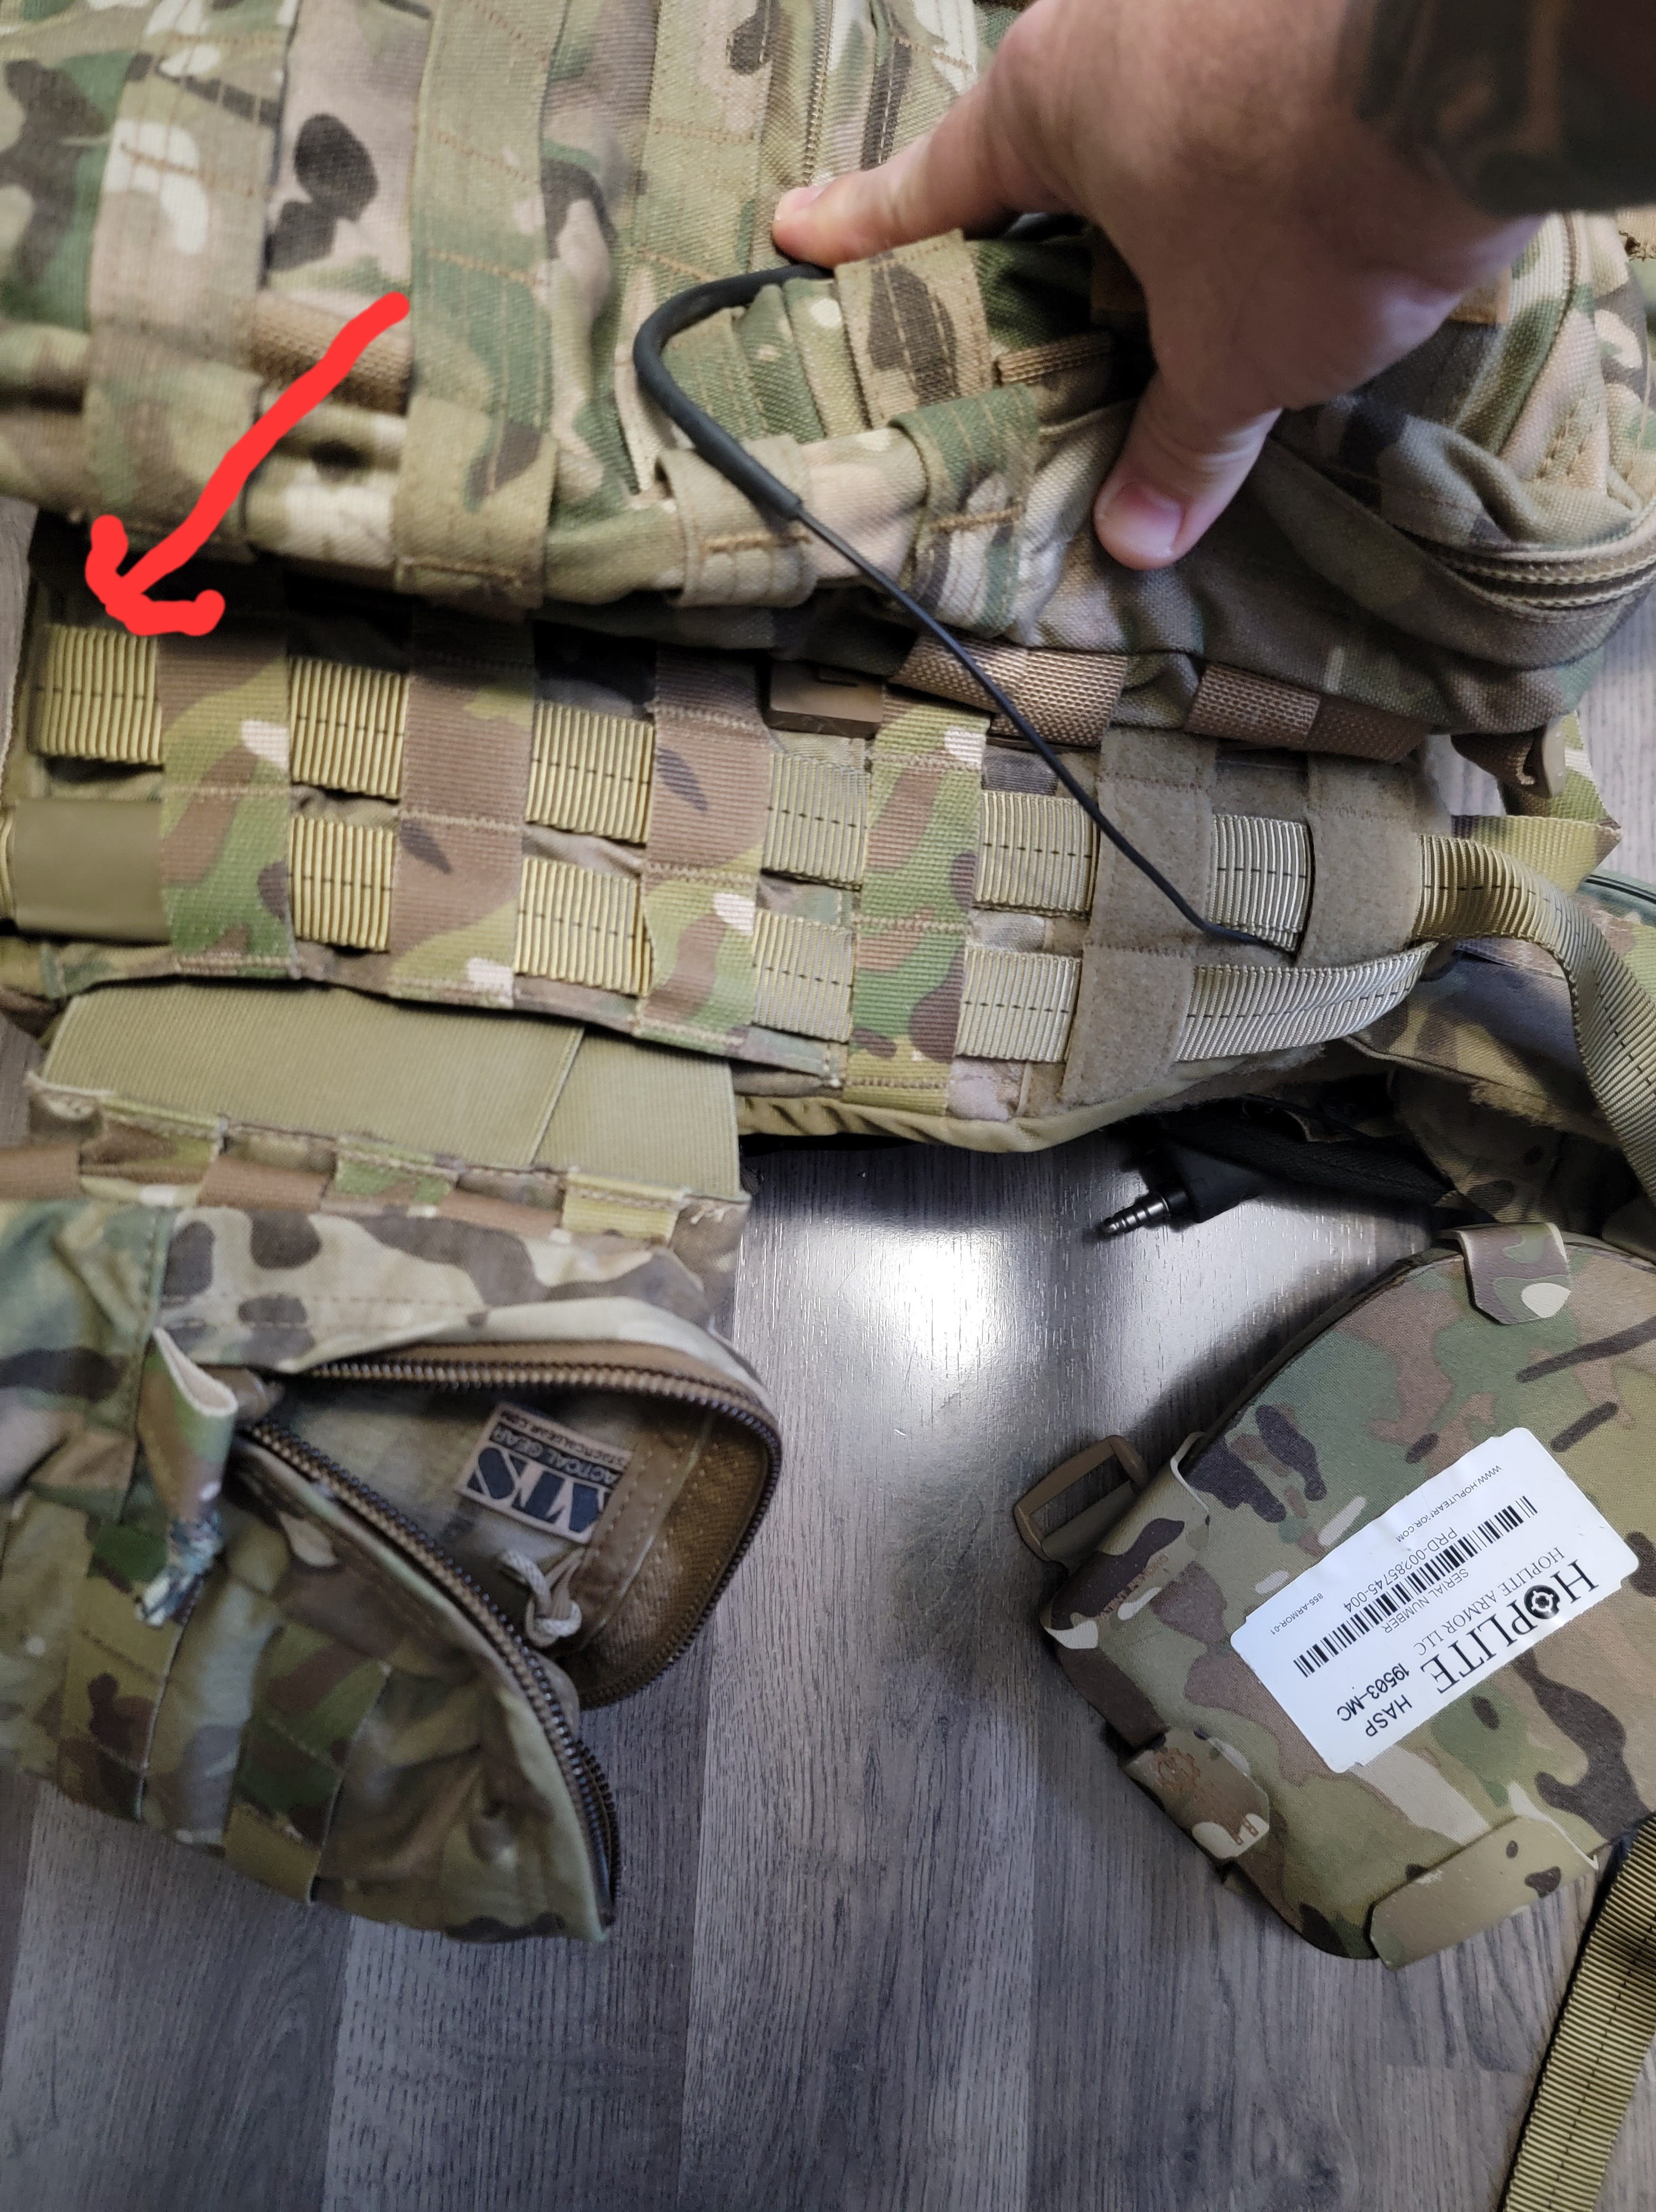
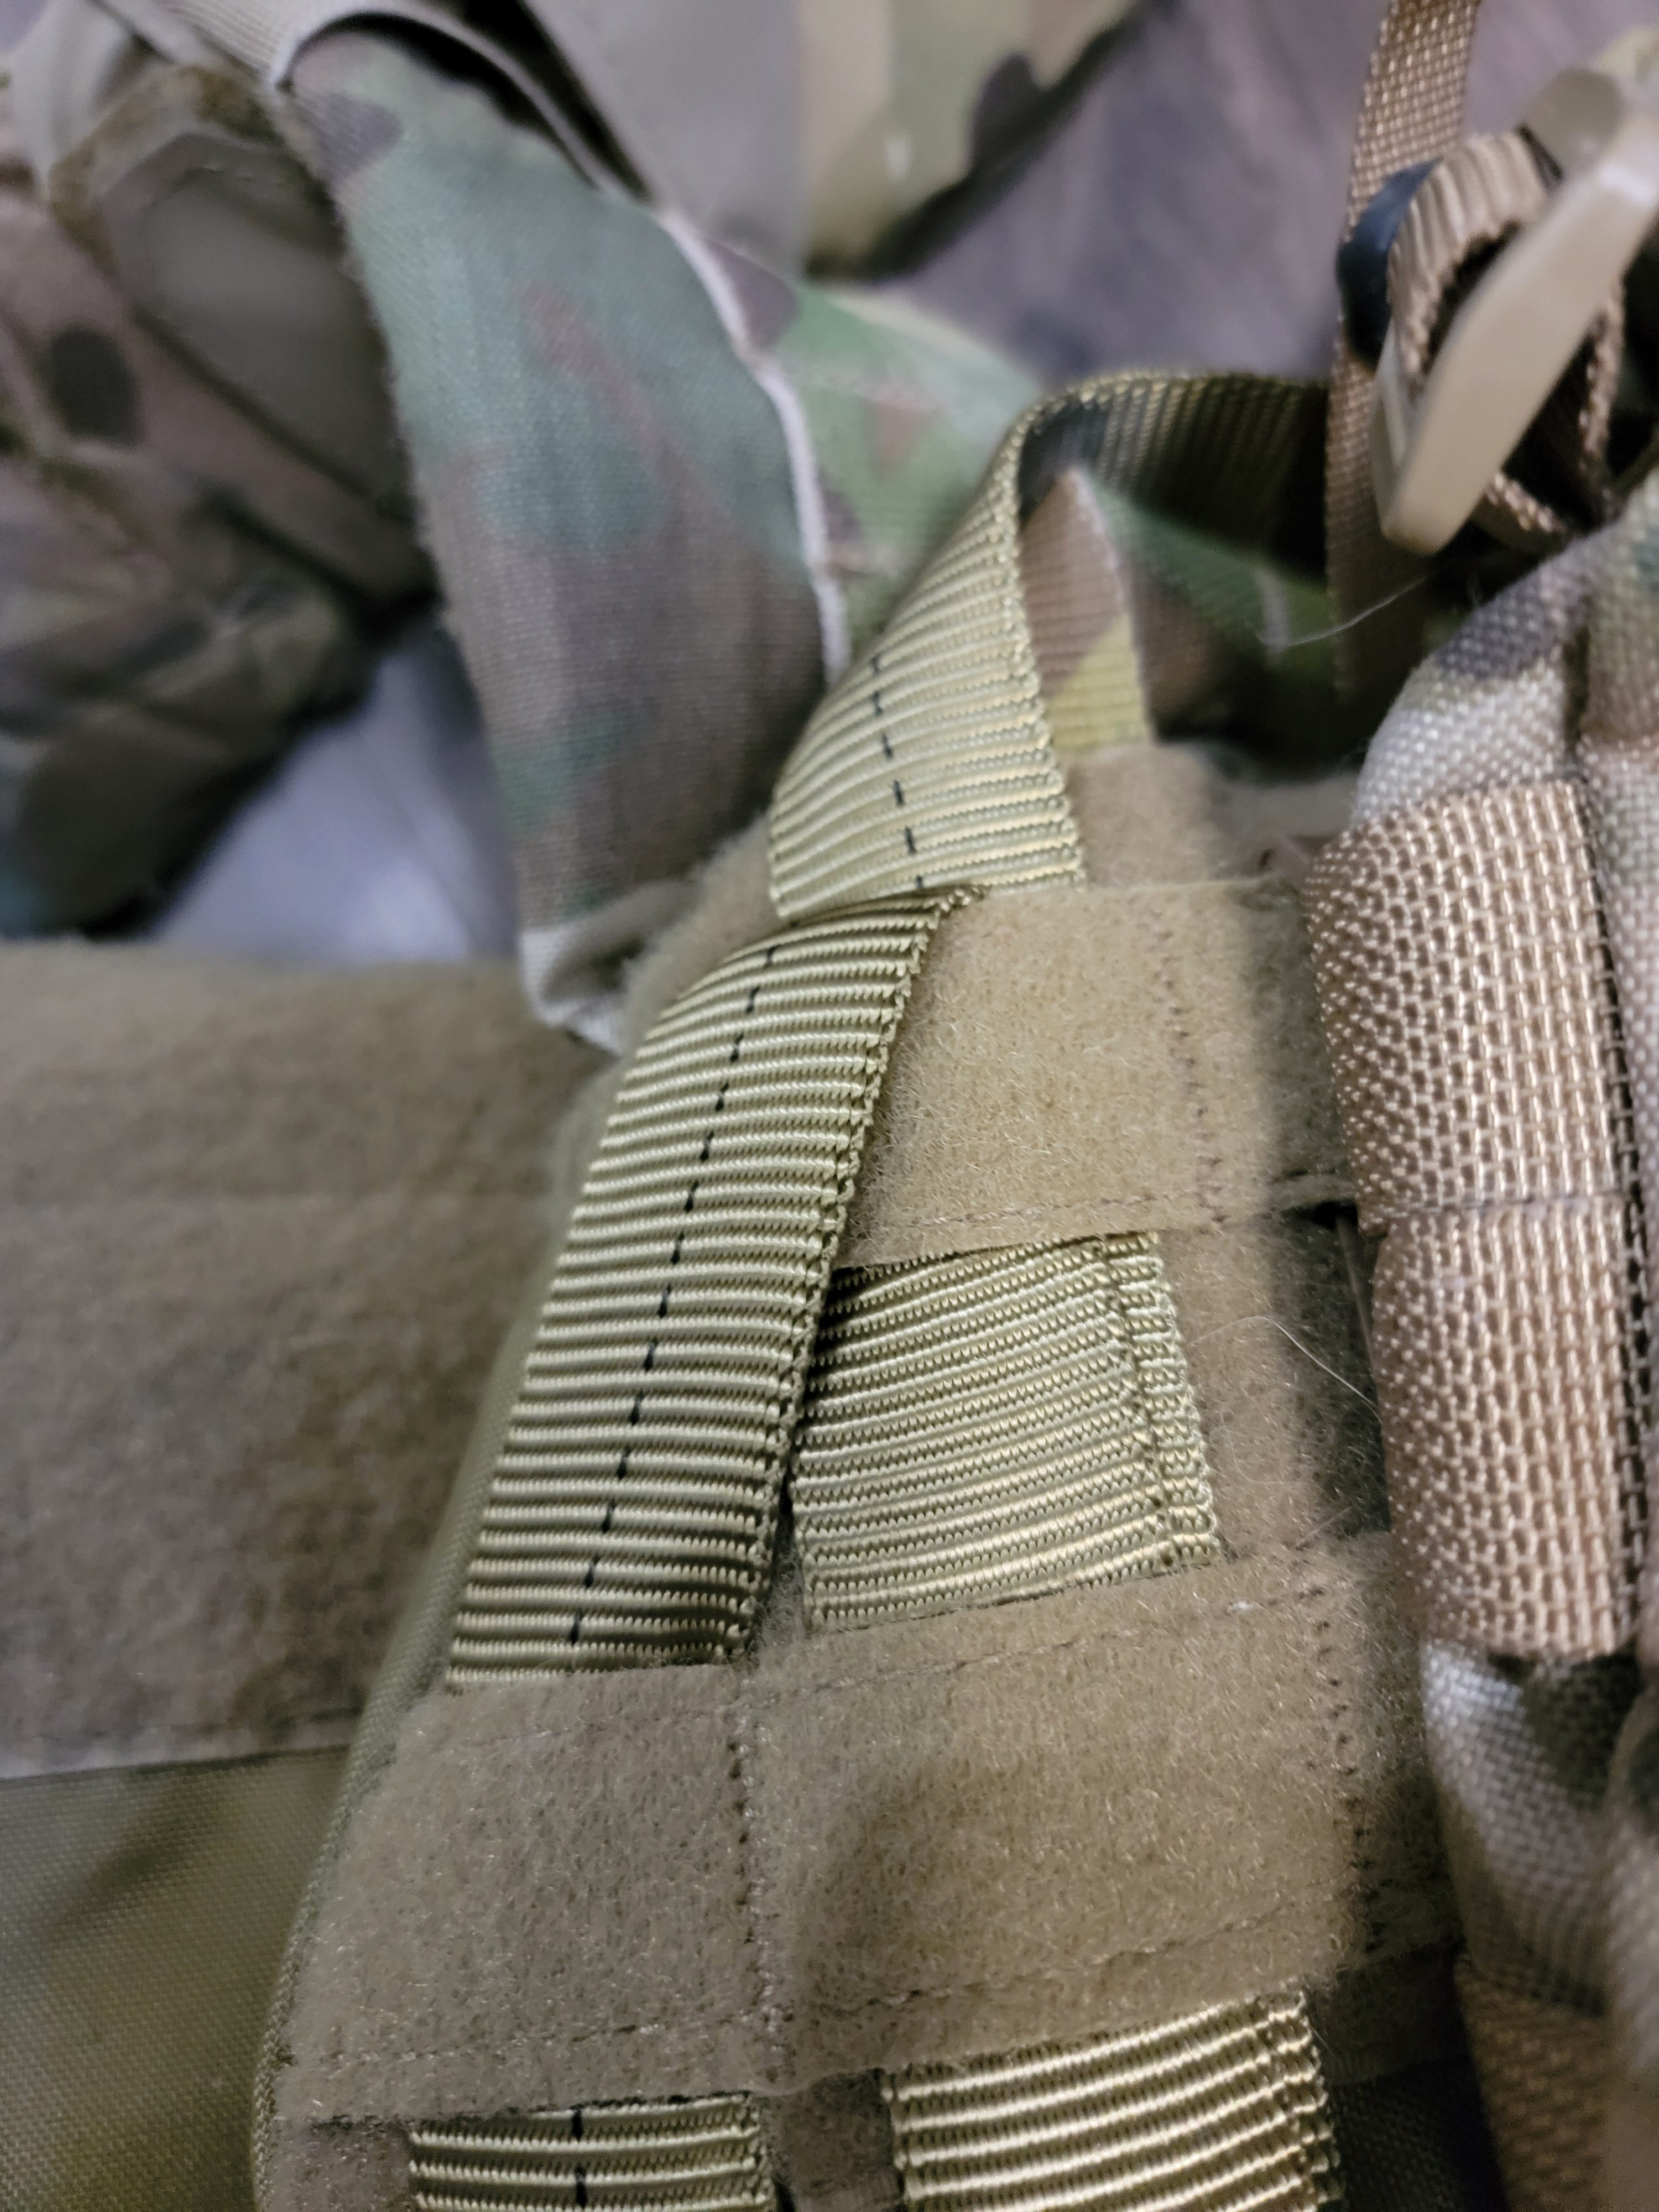
Next, fold this end back on itself, running it back under the same column of MOLLE, from bottom to top, on top of the top to bottom feed-through of nylon.
Red arrow shows the nylon being fed back on itself
When complete, this line of nylon should have the fold just below the bottom MOLLE loop
Strap has been fed back completely on top itself, red arrow shows the fold.
Next, take the free end of nylon, and run it across to the second from the outside column of MOLLE on the other side of the plate bag. Leave a little bit of slack in the crossover portion, as this will become your new drag handle. Run the nylon through the loops, top to botom, and repeat the fold procedure, running the nylon back through the same loops, bottom to top.
Slack in the crossover section.
Blue arrow shows the path of the nylon
Nylon has been folded back on itself, and been run back up, bottom to top. Red arrow shows the fold, blue arrow shows the path of the nylon at this stage.
Take the end of the nylon, and run it top to bottom through the loops of the outermost column of MOLLE. Trim nylon, so there is enough to form another looped tail on this side.
Nylon has been fed after the fold and feed-through, down through the outermost column of MOLLE.
The second looped tail has been formed.
Tape the running end with duct tape, and run a carabiner through both loops.
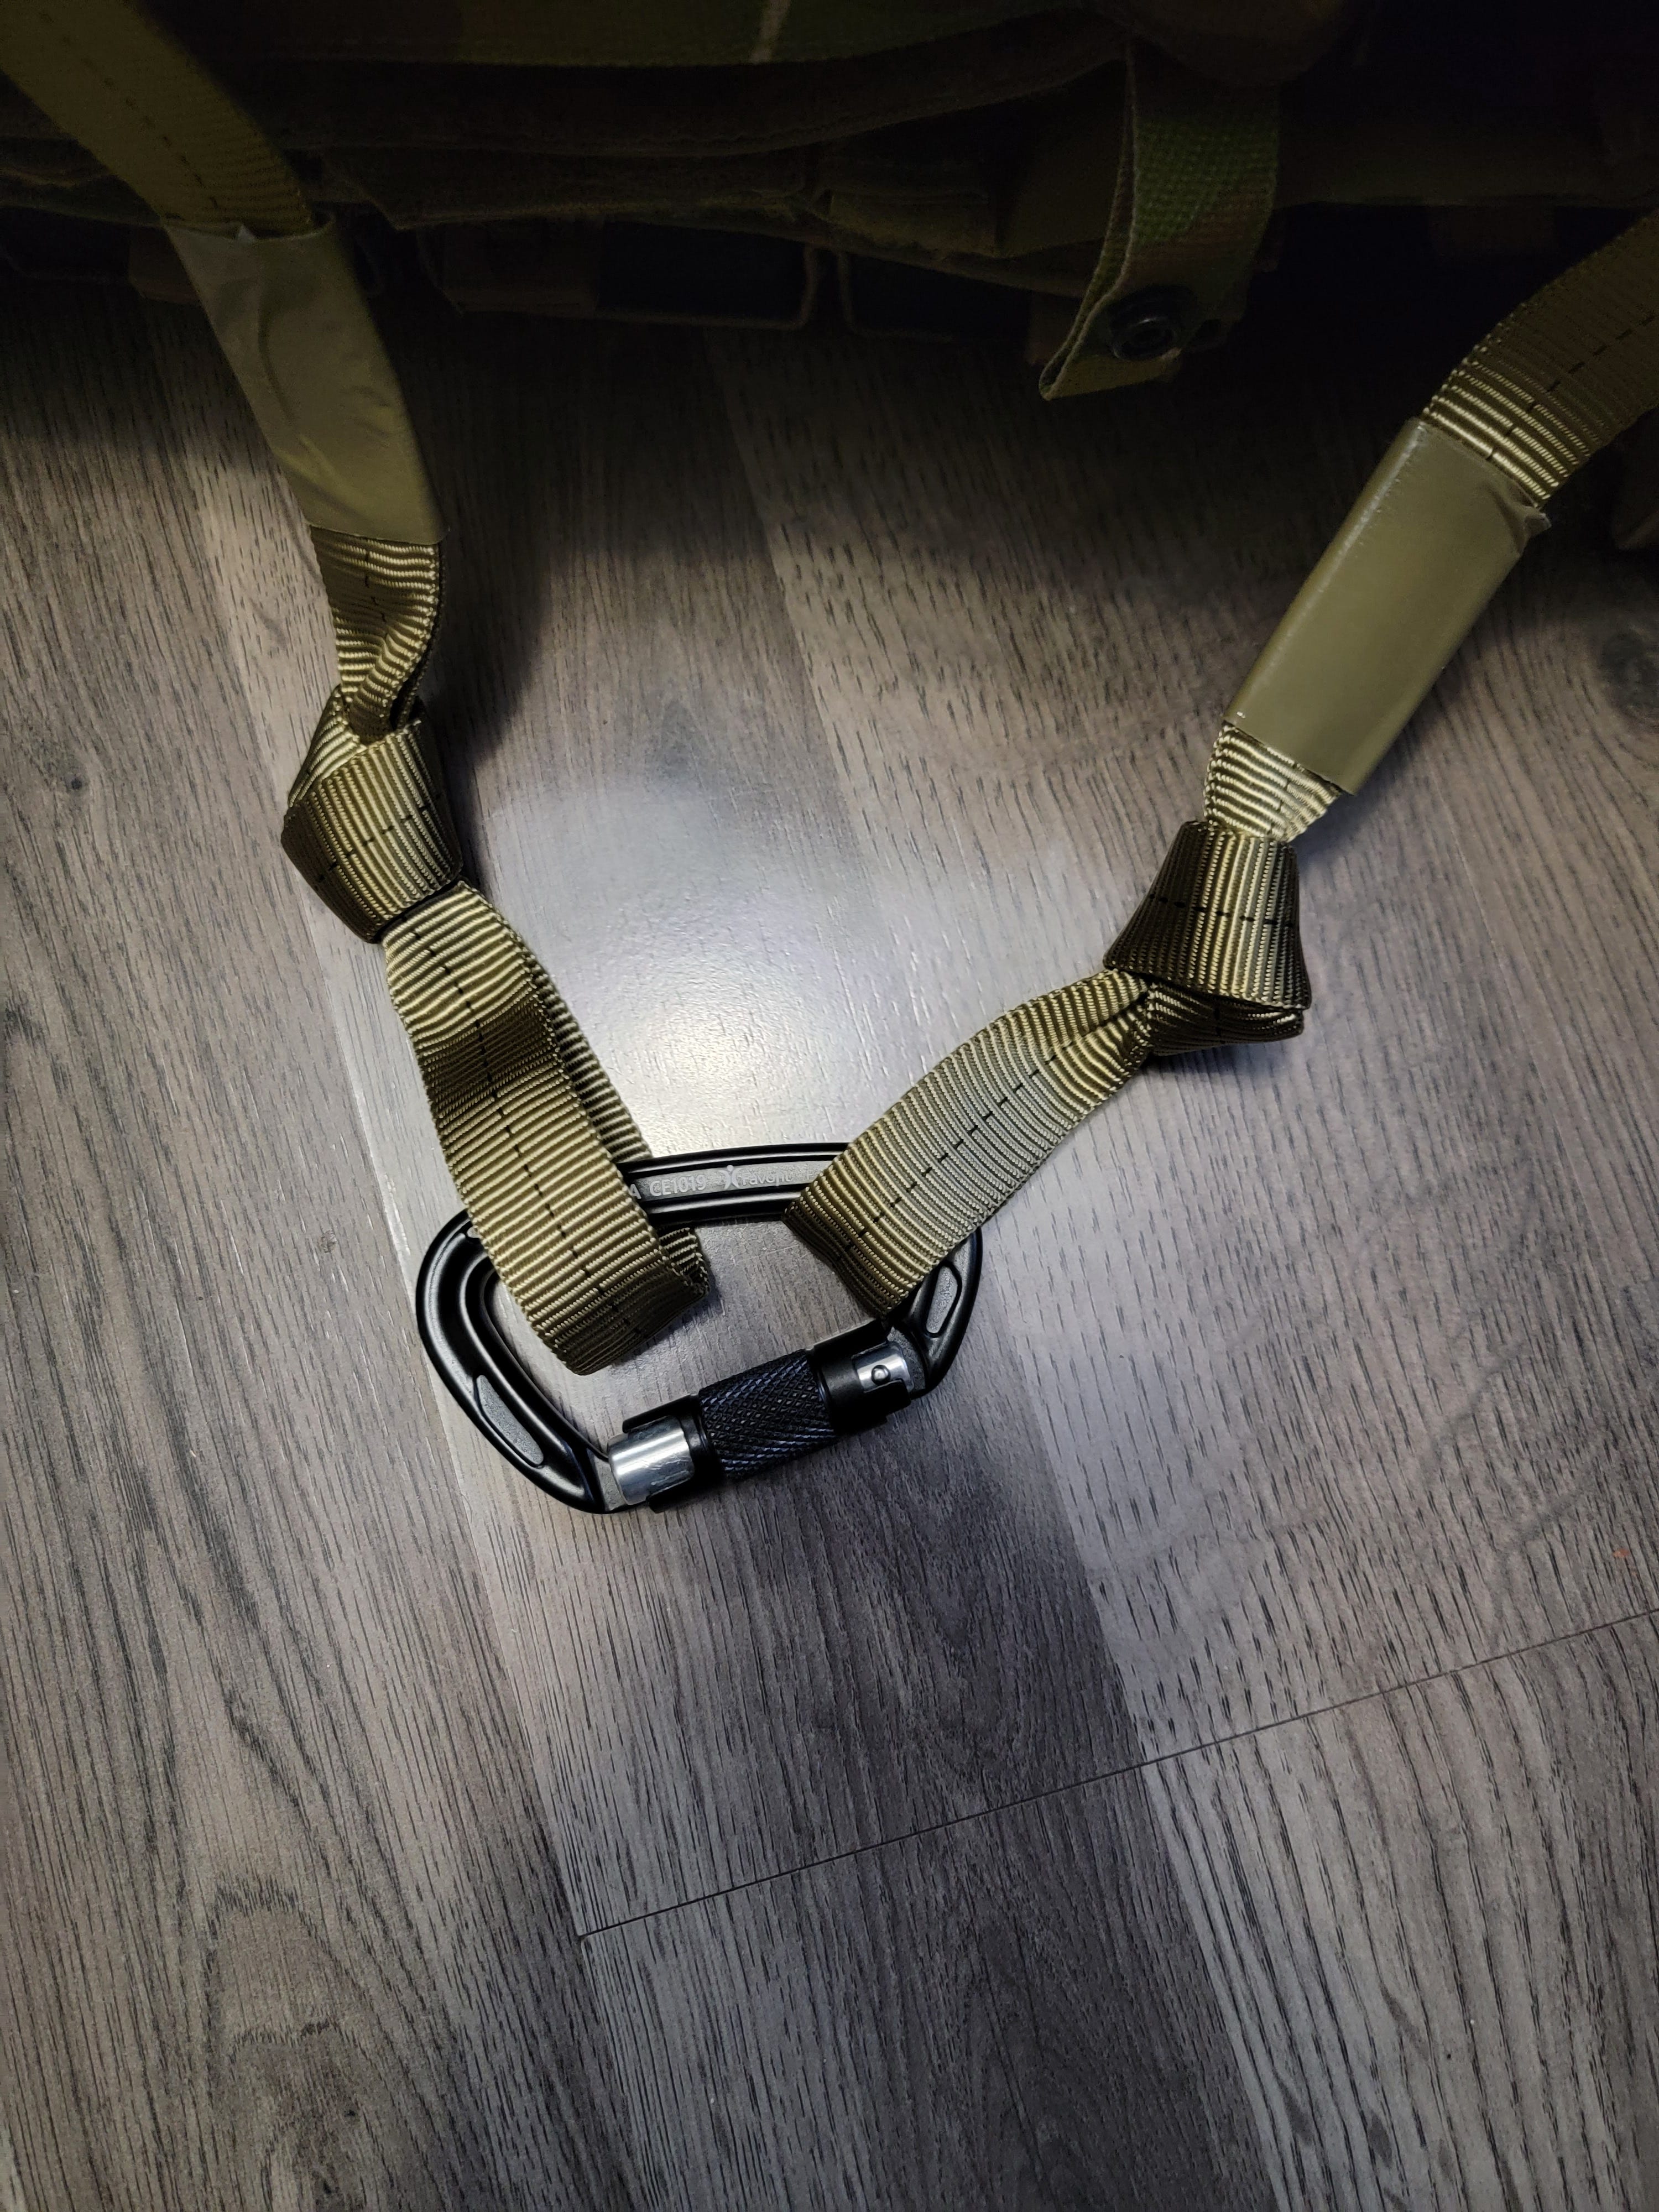
Loops are attached by carabiner.
Continued in Part 2.